Marqii Menu, Hours, Feedback, and FAQ Widgets
Last updated: July 17, 2026
Contents
Marqii Widgets Feature
Our Widgets feature allows you to create customizable Menu and Hours widgets that can be easily embedded into your website. With just a few clicks, you can:
Display your business hours and additional hours in a clean format.
Highlight your food and drink offerings in an easy-to-update professional layout.
Generate an embed code to copy and paste directly into your website.
Ensure your widget always stays current, any updates made in the Marqii dashboard automatically sync to the corresponding widget on your website.
Maintain accurate, up-to-date info online with minimal effort.
Why Use Marqii Widgets?
Better SEO: Your hours and menu content are directly indexed by search engines.
Faster website performance: Lightweight, optimized widgets won’t slow down your site.
Unified brand experience: Ensure consistency across your website, listings, and in-store info.
Full control: Make updates in one place and trust they’ll appear exactly where they should.
Near real-time updates: With POS integration, manage your menu live with minimal effort.
In this article, you will learn how to create your own Hours and Menus Widgets using the Marqii Widgets Feature.
Creating an Hours Widget
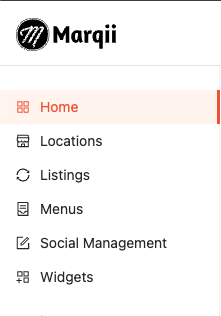
Once logged in to the Marqii Dashboard, on the left side menu, click on "Widgets"
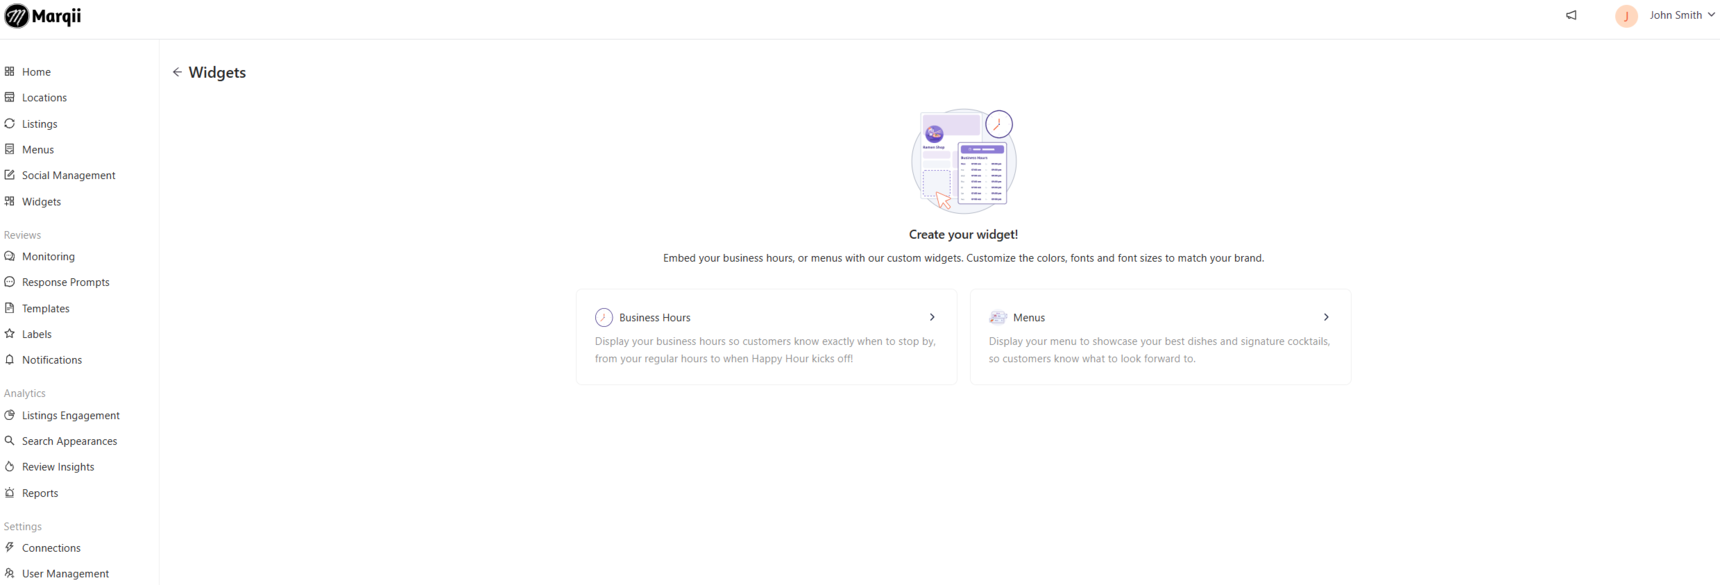
Click on "Business Hours" to start creating your hours widget.
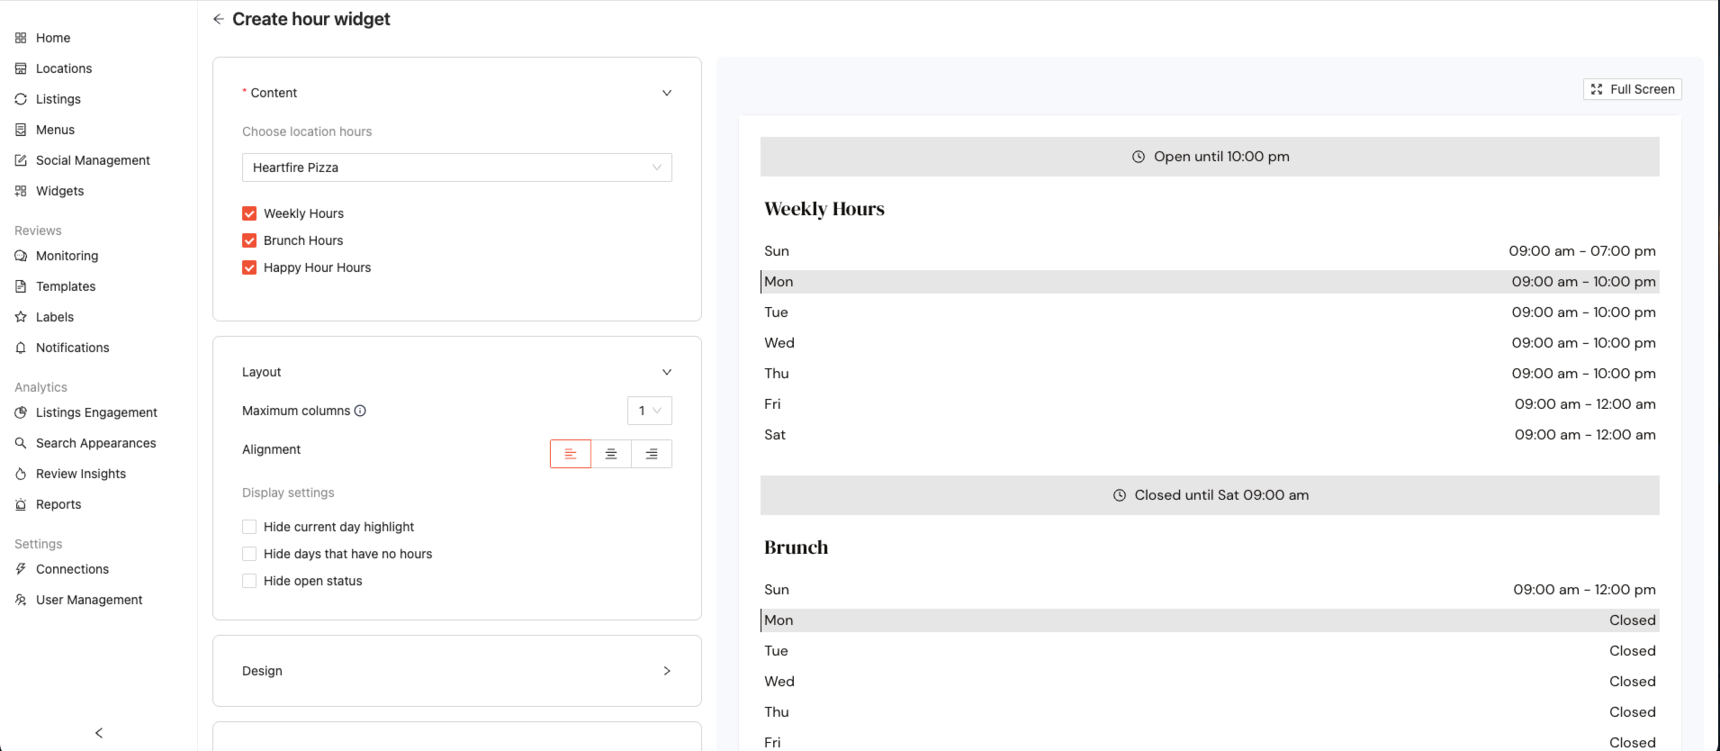
Under "Content" select the locations you would like to create the hours widget for.
Note: You can create separate widgets for each location and each hour type.
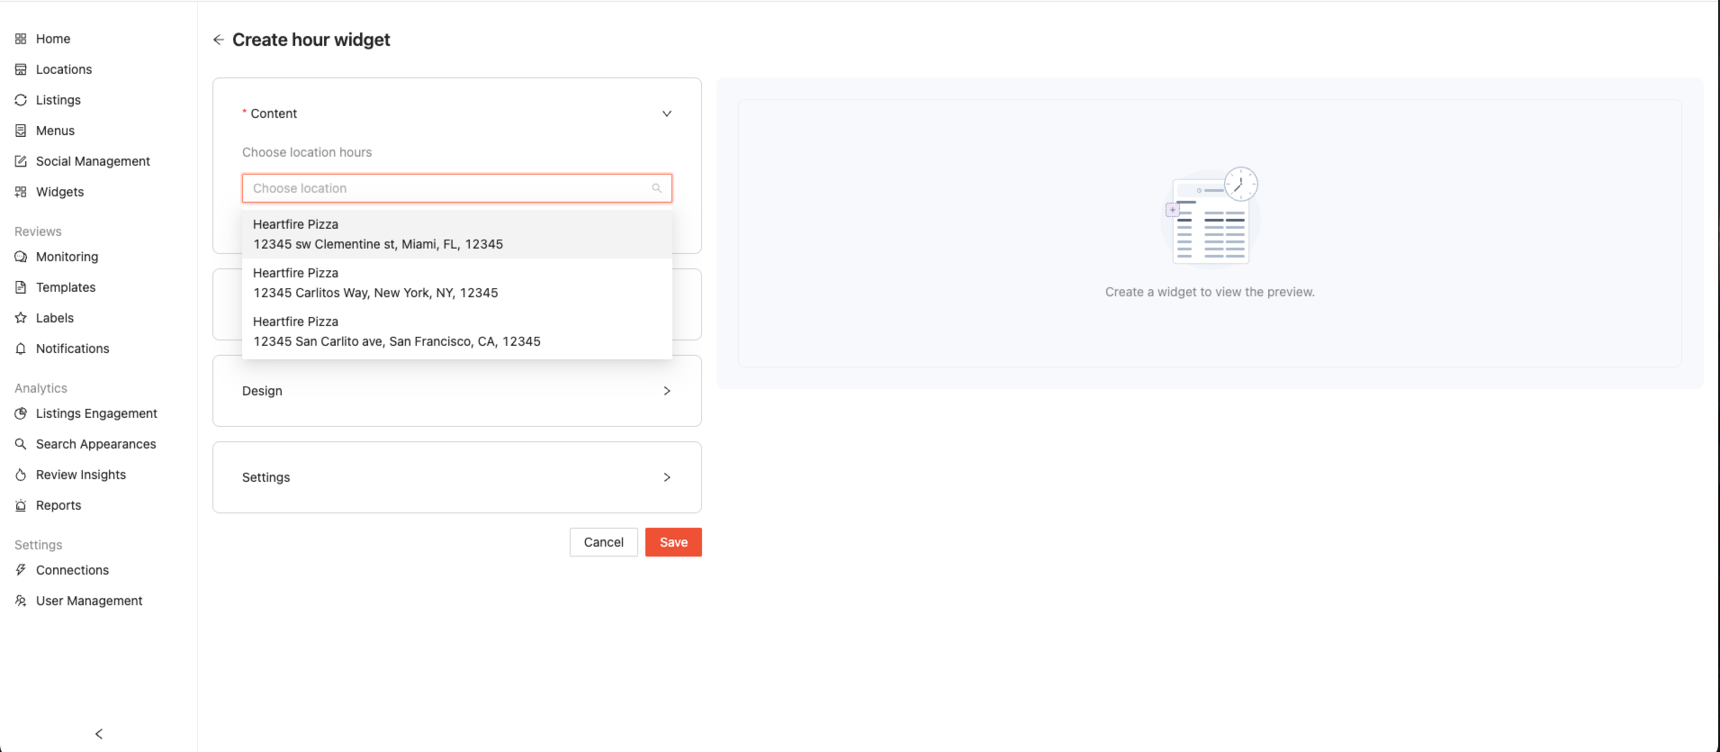
Note: Each individual widget will have its own embed code that will need to be added to your website.
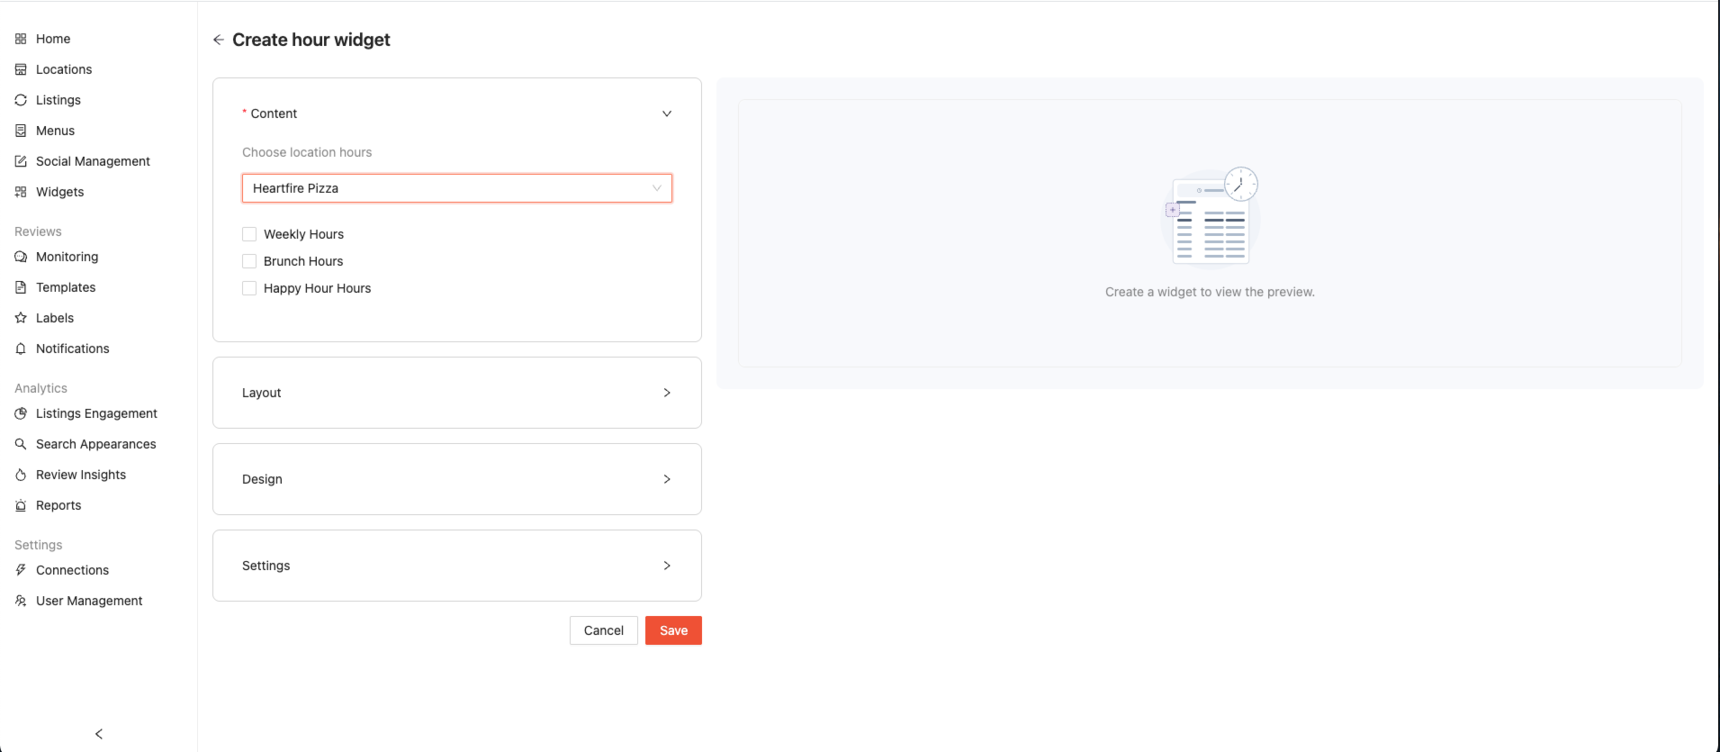
Once a location has been selected, you can choose all of your hours including weekly and specialty, or just your weekly hours.
Note: If you would like to add more hours to your location, please visit that location on the Marqii Dashboard under "Locations" and add any specialty hours under "Hours" and "Specialty Hours"
Note: If holiday hours are added to a location in the Marqii Dashboard, they will appear under the “Weekly Hours” section for that location.
Once the desired hours for your widget is selected, click on "Layout"
From here you will be able to assign single or double columns, alignment, and display settings.
If you would like 2 columns, select "2" from the "Maximum Columns" drop-down.
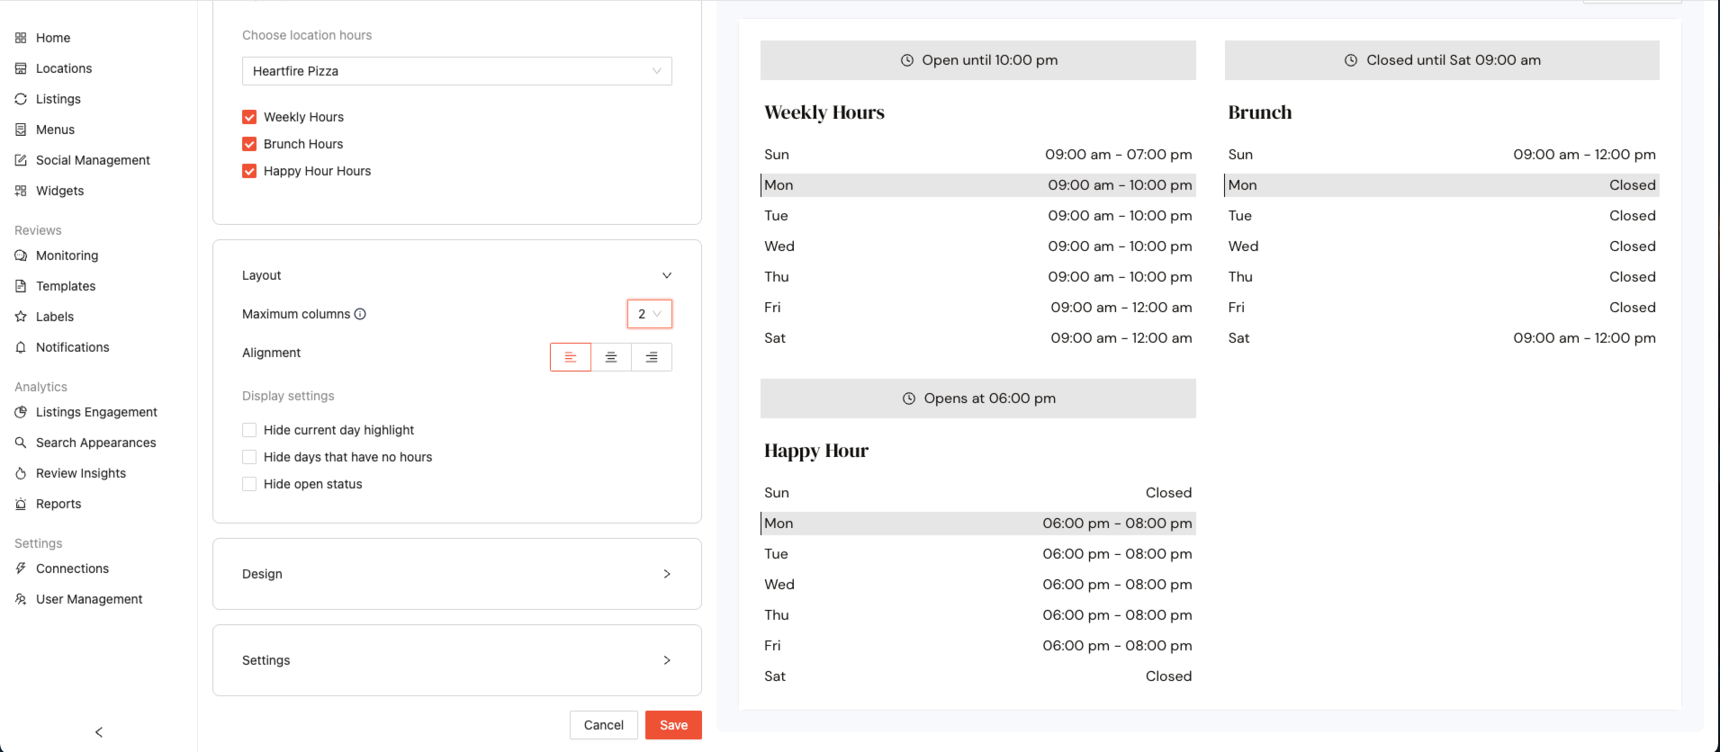
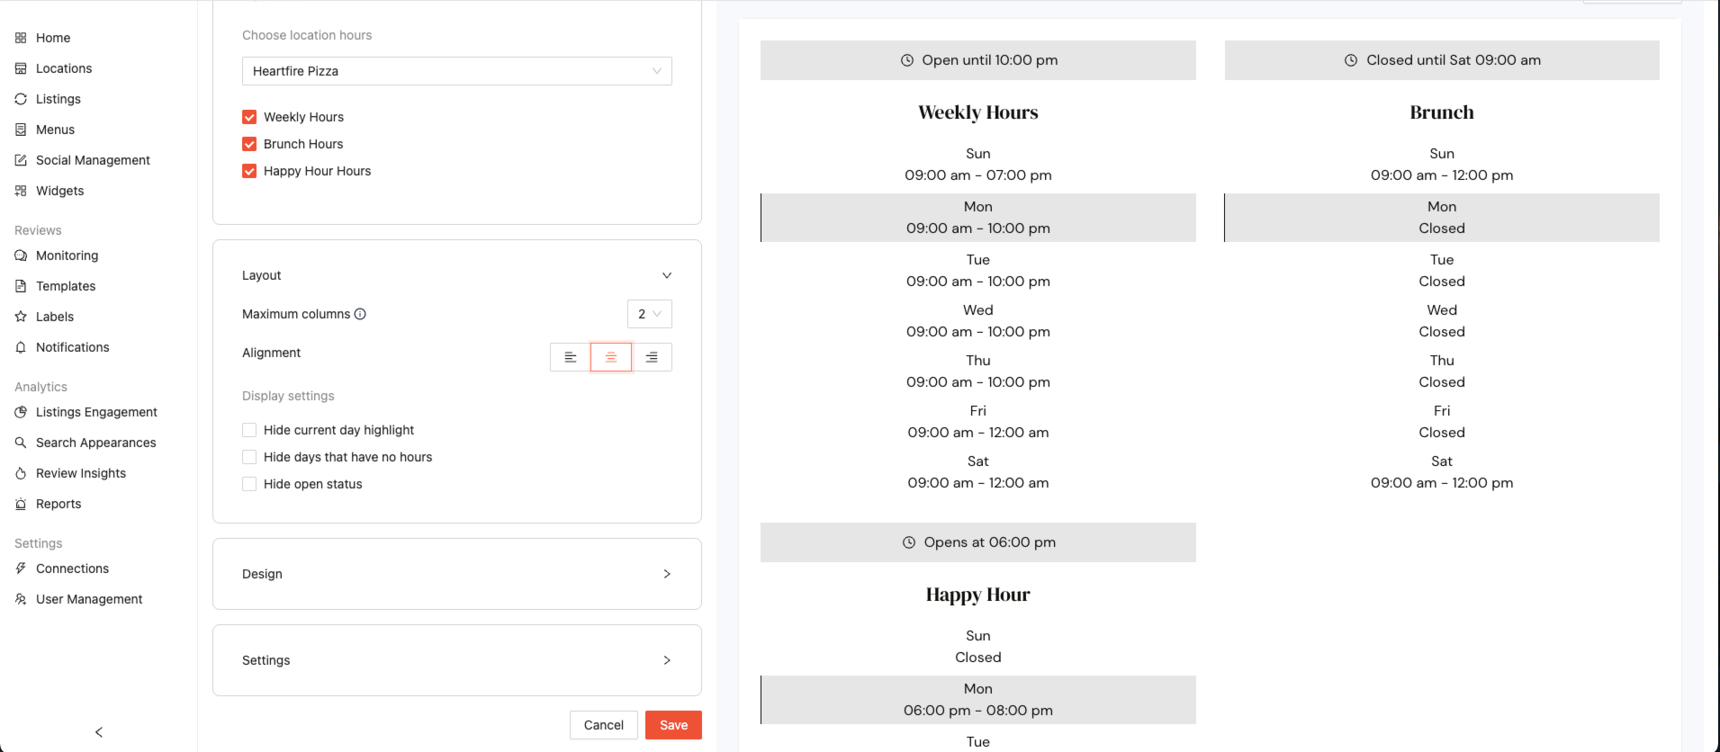
If you would like centered alignment, select "center" from the alignment choices.
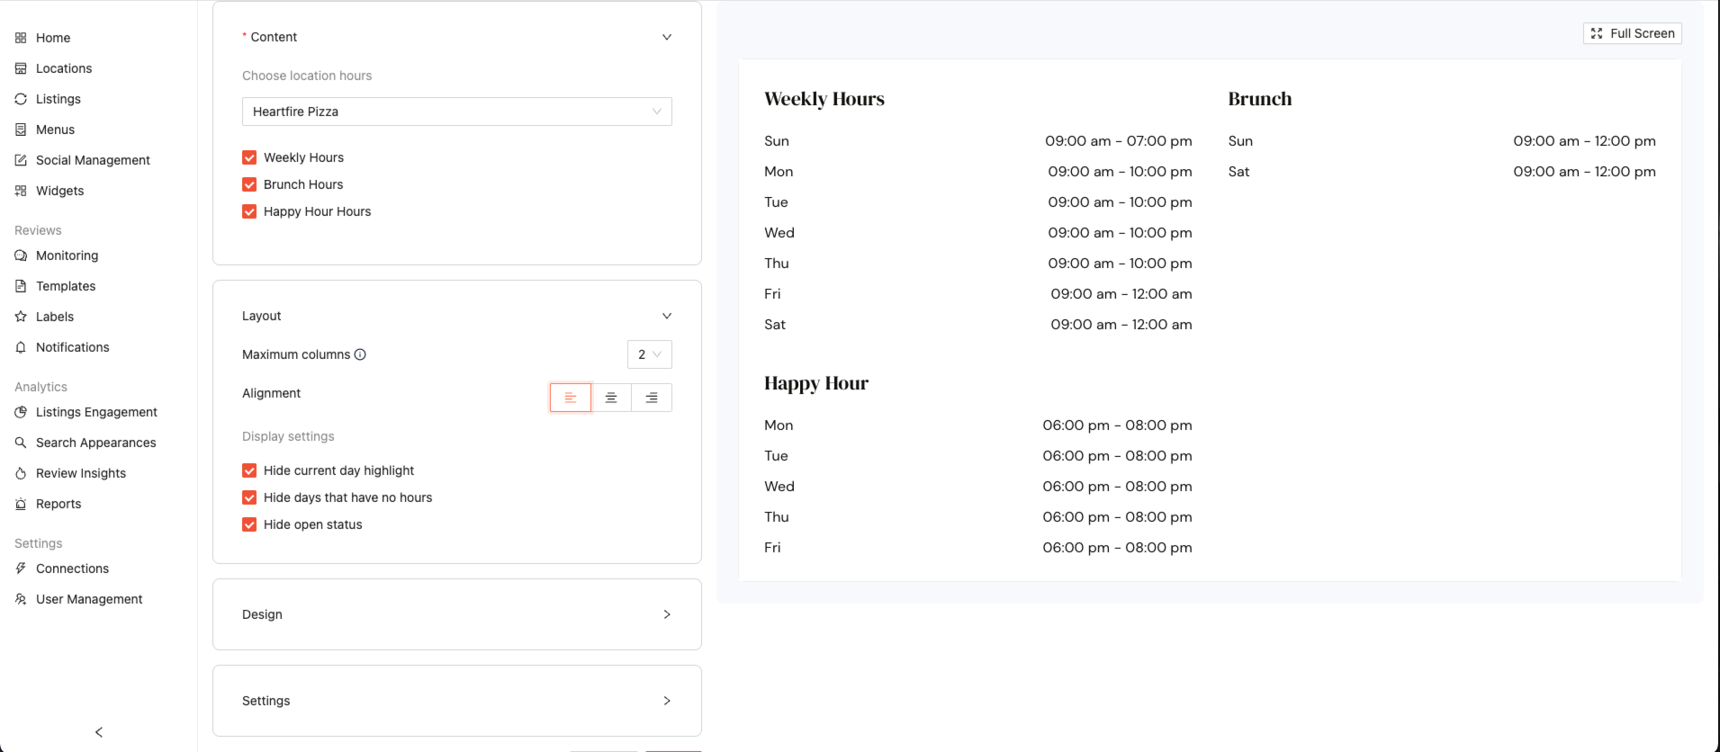
Customize your Display settings:
Hide current day highlight:
Turns off the visual highlight that typically draws attention to today’s hours. Use this if you prefer a more neutral look without emphasizing the current day.Hide days that have no hours:
Removes days from the widget that have no listed hours (for example, if you're closed on Sundays). This keeps the widget cleaner and avoids showing empty or irrelevant days.Hide open status:
Hides the real-time status that shows whether you're open, closed, opening soon, or closing soon based on your actual business hours. This can be useful if you prefer not to display live status updates on your site.
Once your Display settings have been selected, click on "Design"
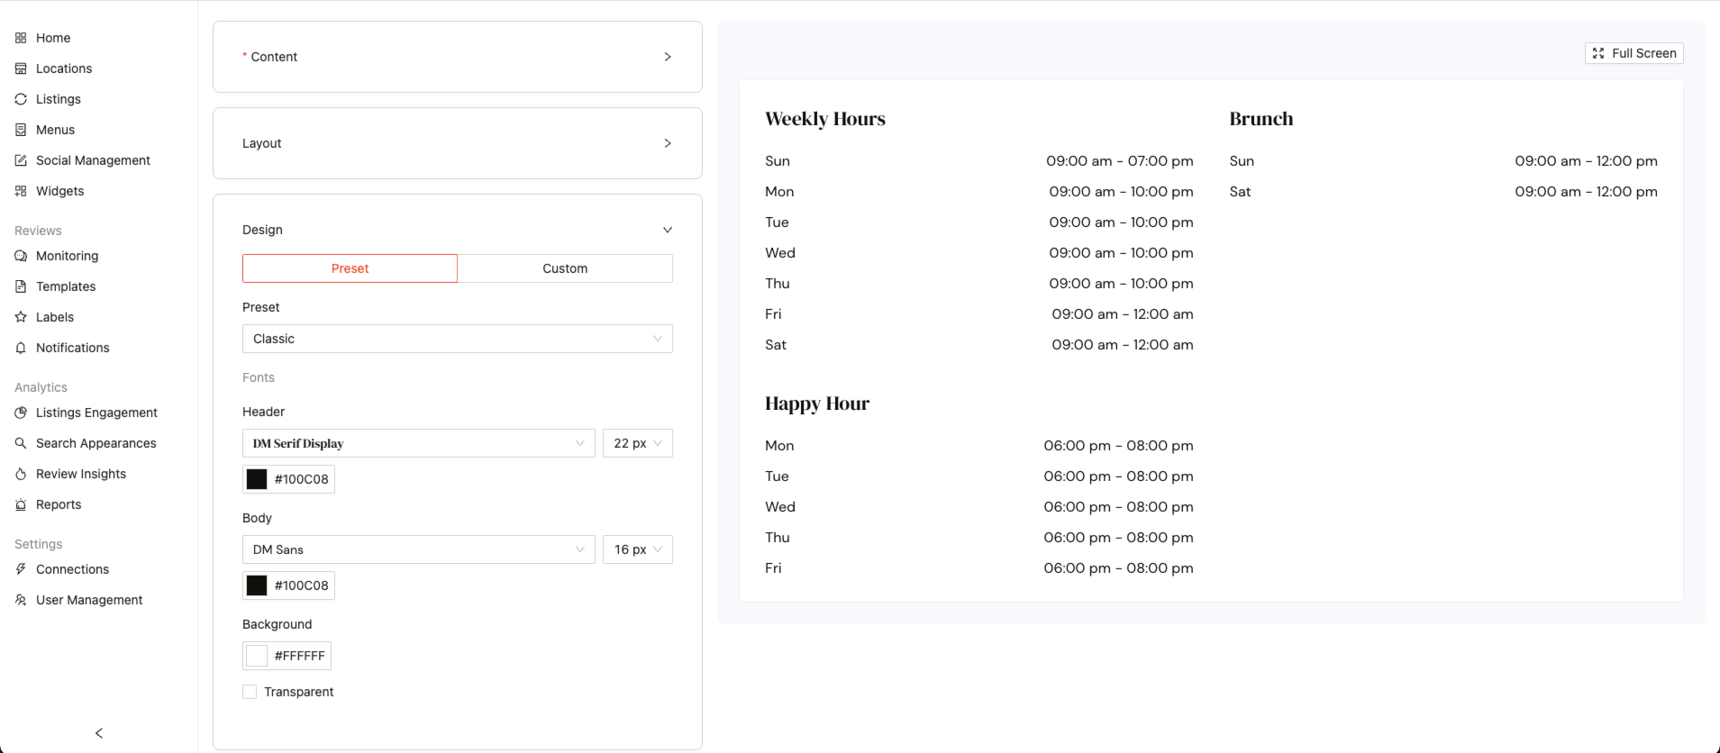
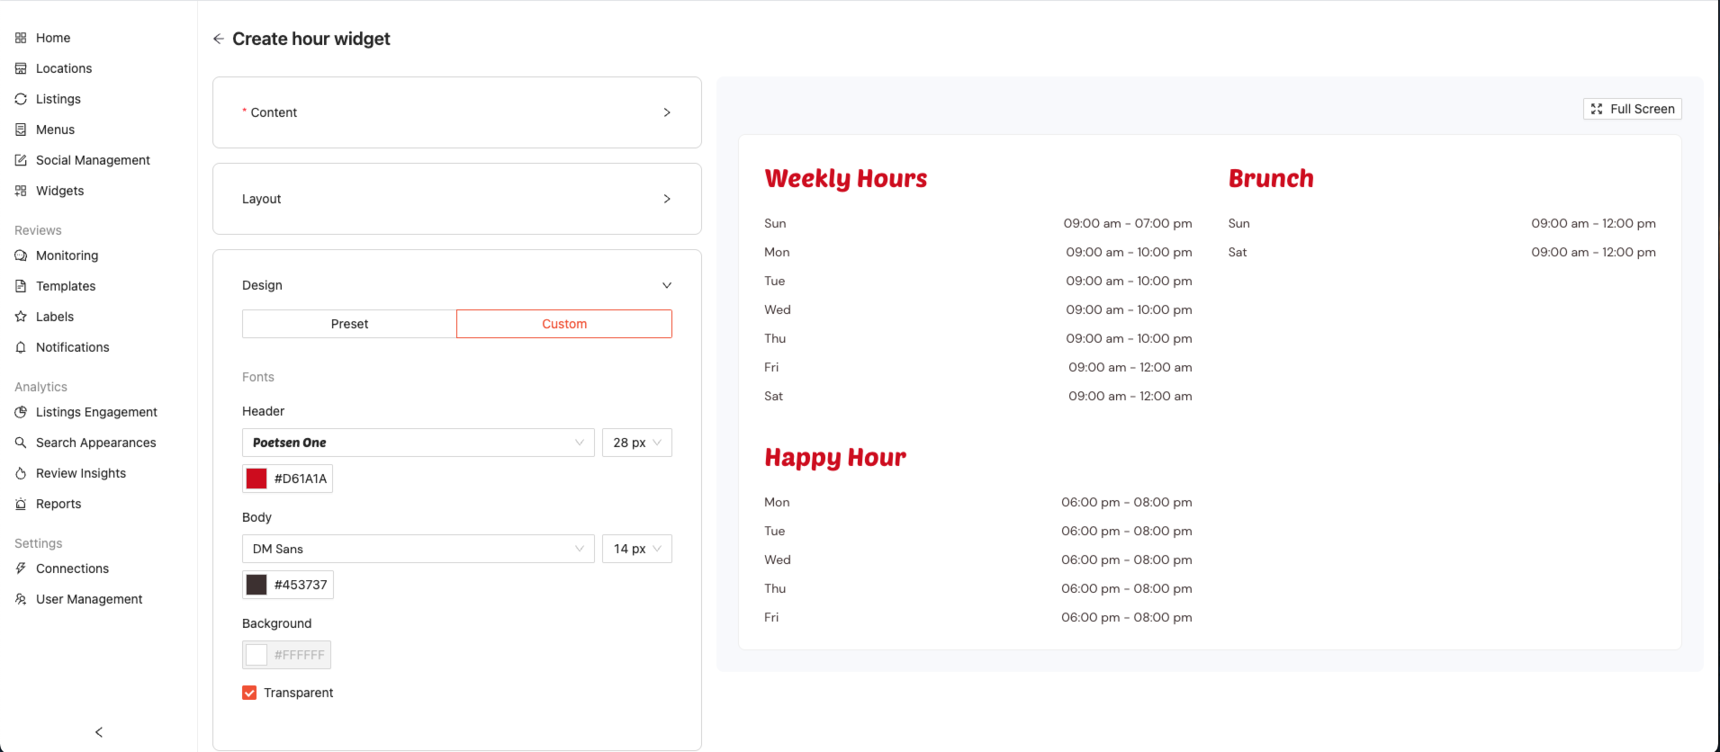
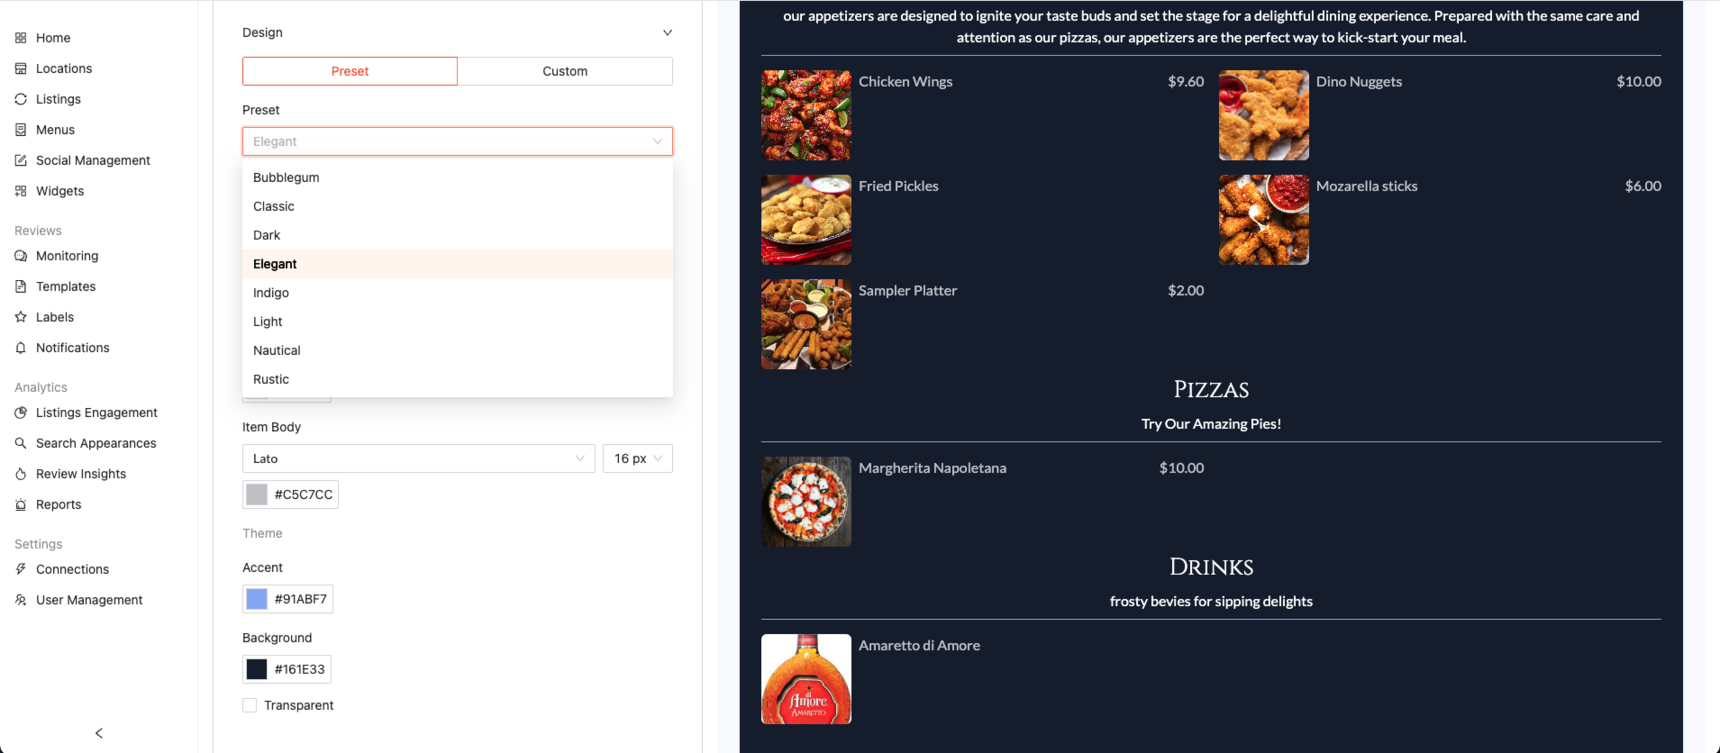
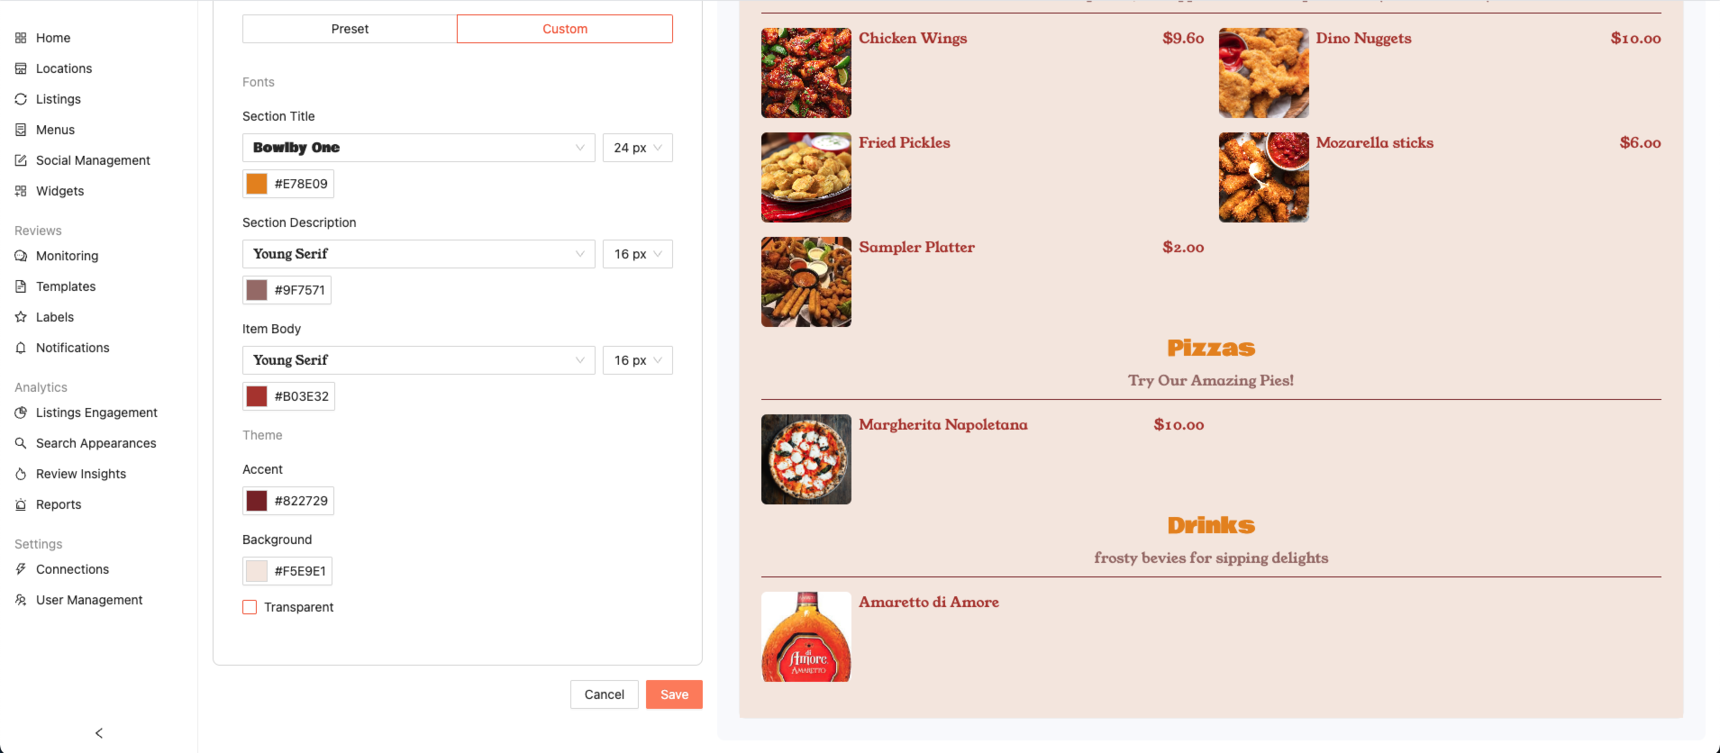
Under "Design" you can customize colors, highlights, fonts, and backgrounds to match your brand. Choose from ready made presets or create a fully custom design from scratch.
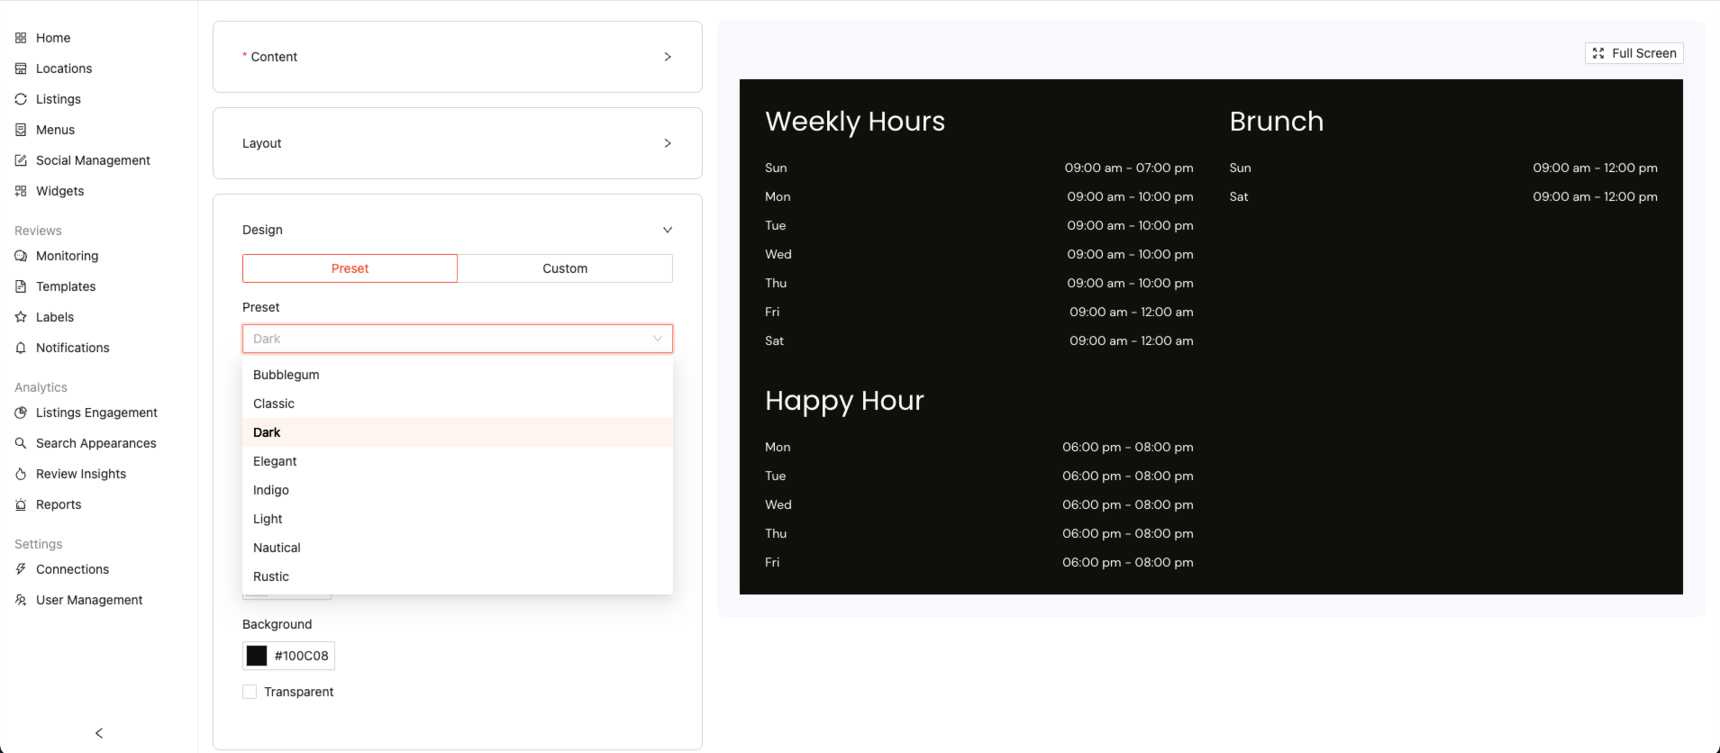
If you would like to use a preset, we've created visually appealing options designed to match popular themes like Dark, Nautical, Rustic, Bubblegum, and more.
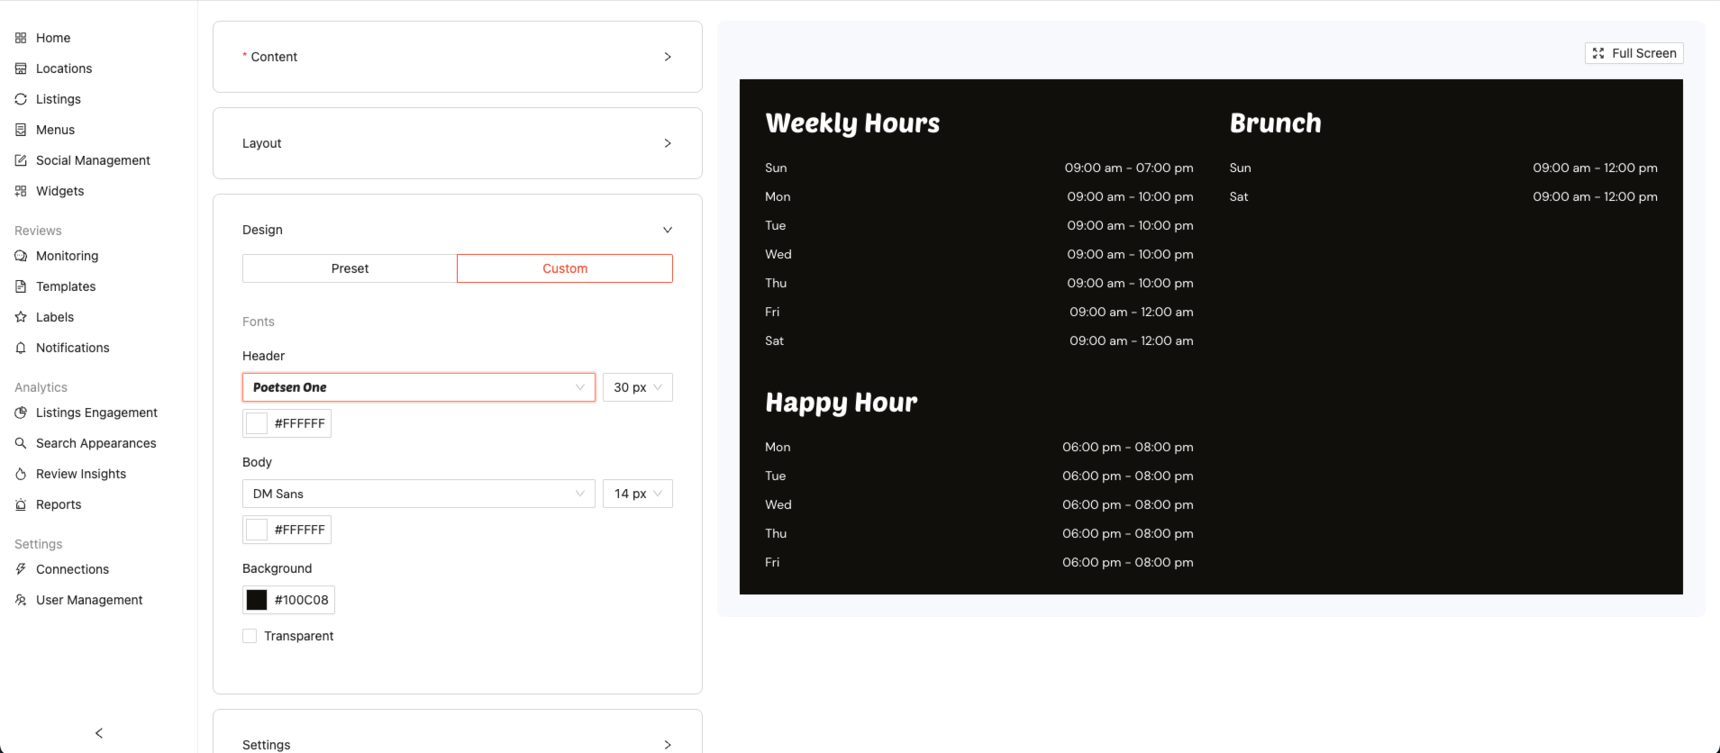
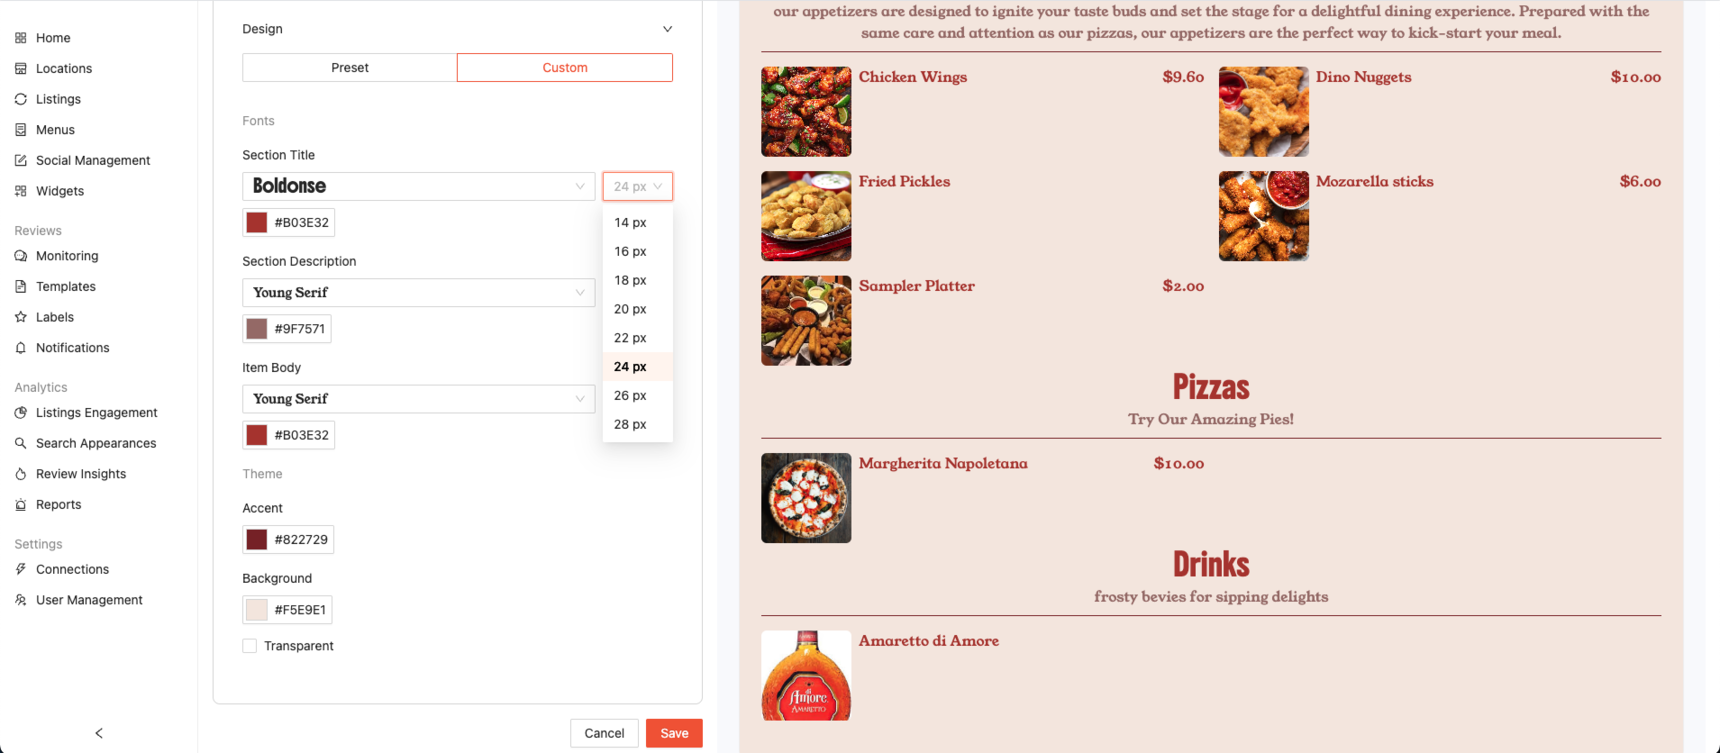
Note: Once you make changes to the font size, color, or any other design setting, the preset will automatically switch to the “Custom” tab. Any preset styles you haven’t modified will still remain applied.
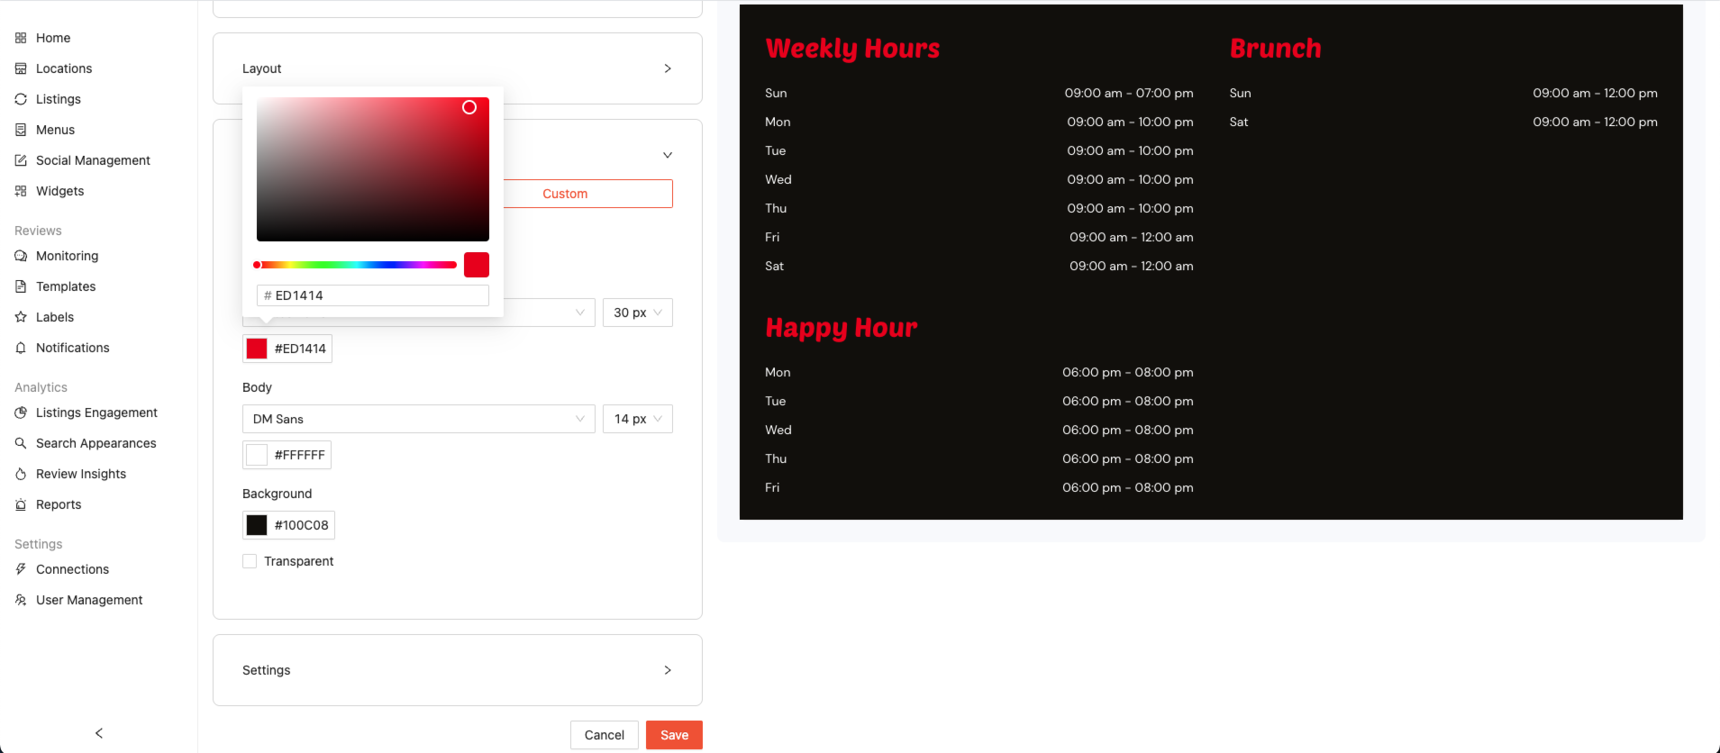
If you would like to go the more customized route, you can enter a HEX code for precise color matching.
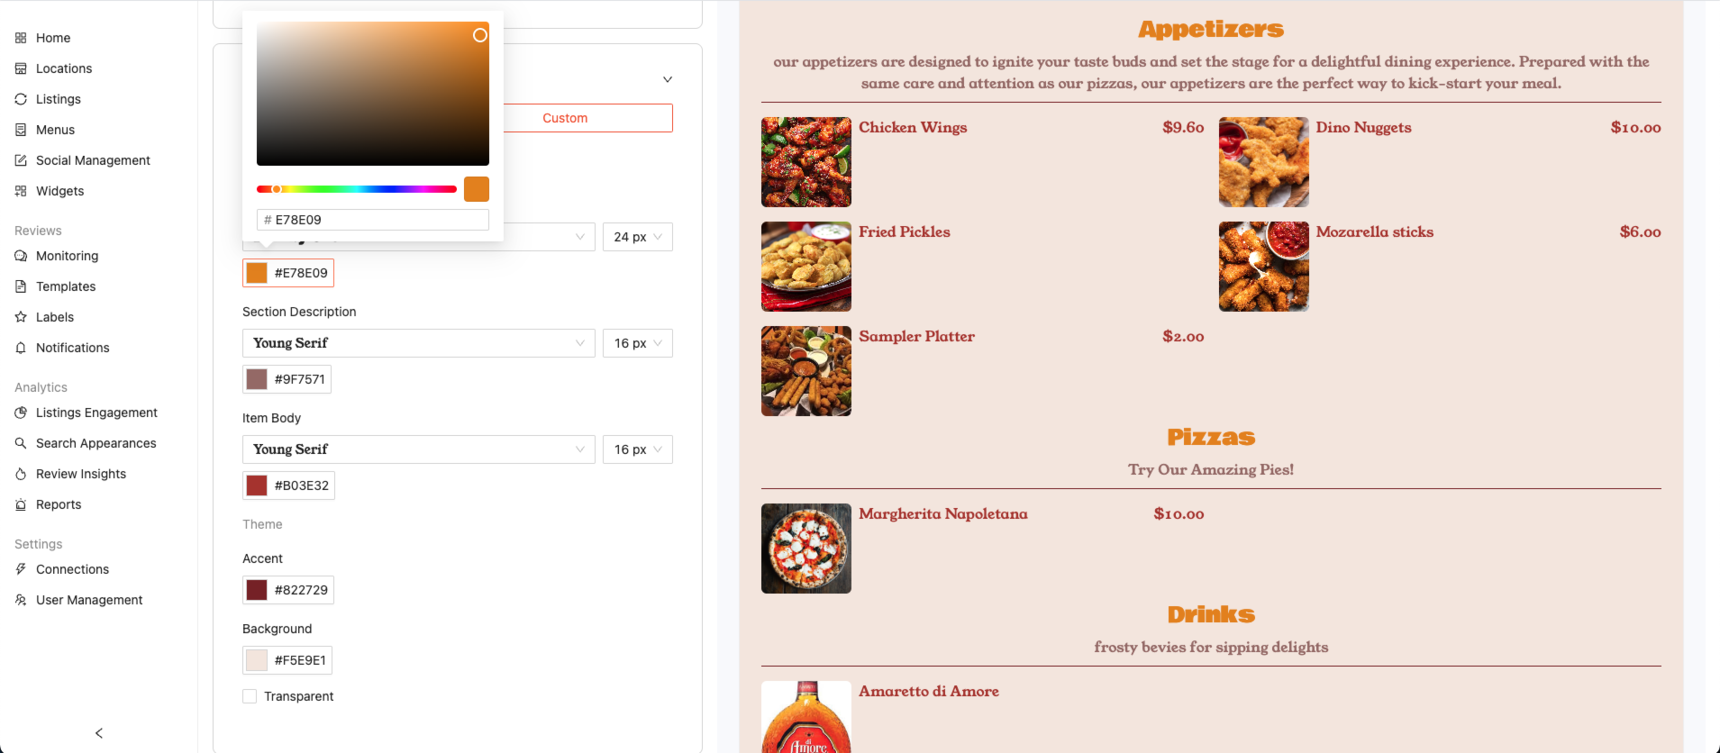
If you already have a HEX code, simply paste it into the field. If not, you can click the color box to open the color picker and choose from a wide range of options.
Note: This option is available for the Header, Body, and Background.
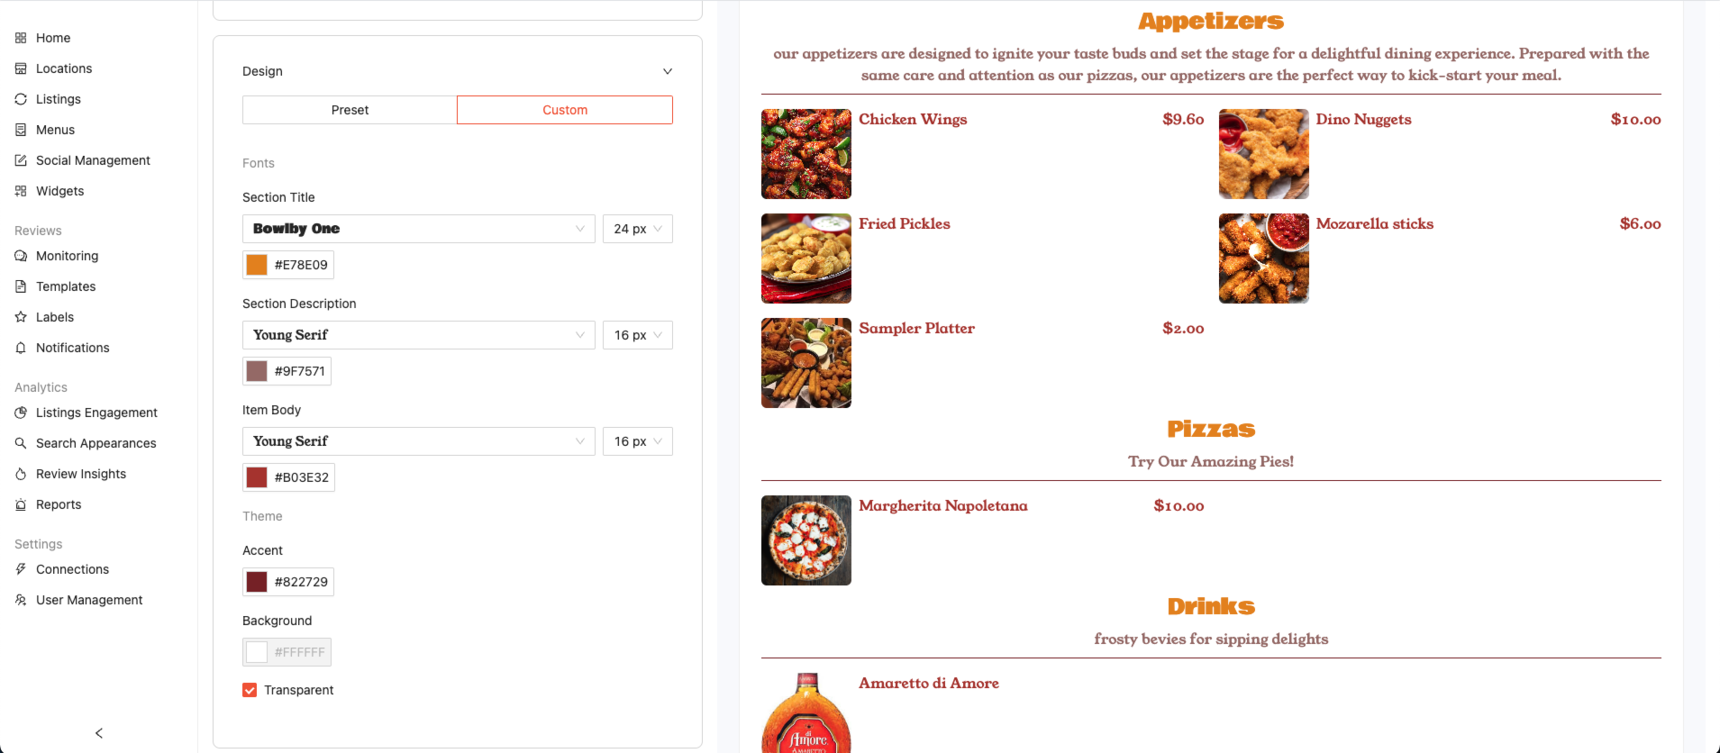
If you would like a Transparent background, selecting "Transparent" will remove the background color and change it back to white.
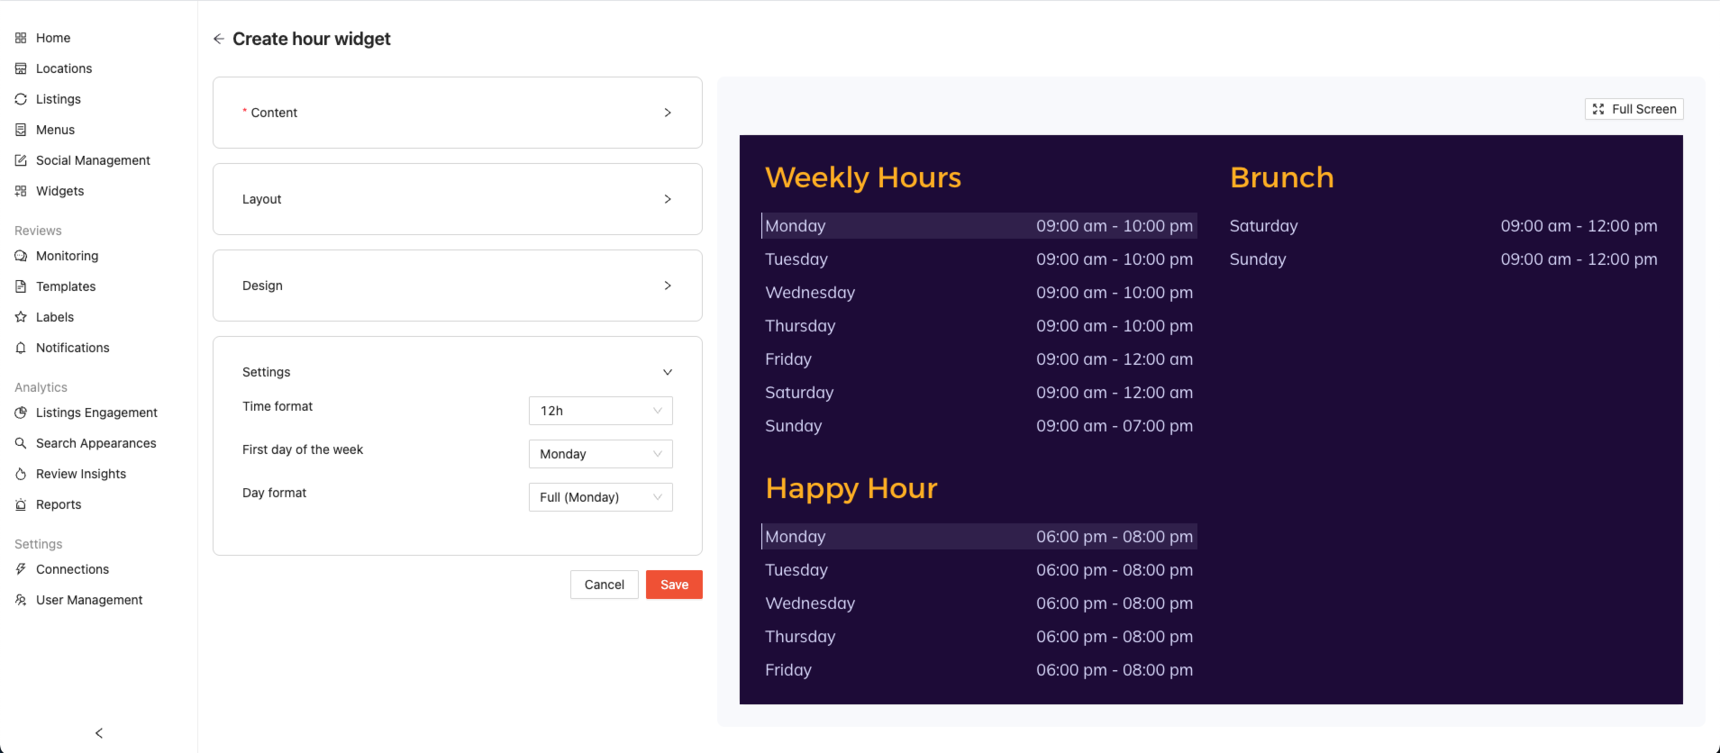
Once your Design is all set, click on "Settings"

Time Format
Choose between 12-hour or 24-hour.First Day of the Week
Set which day your calendar view starts with, either Sunday or Monday.Day Format
Choose how days of the week are displayed, either Short or Full.
Once you’ve fully customized your Hours widget and are happy with the way it looks, click “Save” to apply your changes.
Once Saved, an embed code will appear in the green box. Click "Copy Code" to copy the code and embed it to your website.
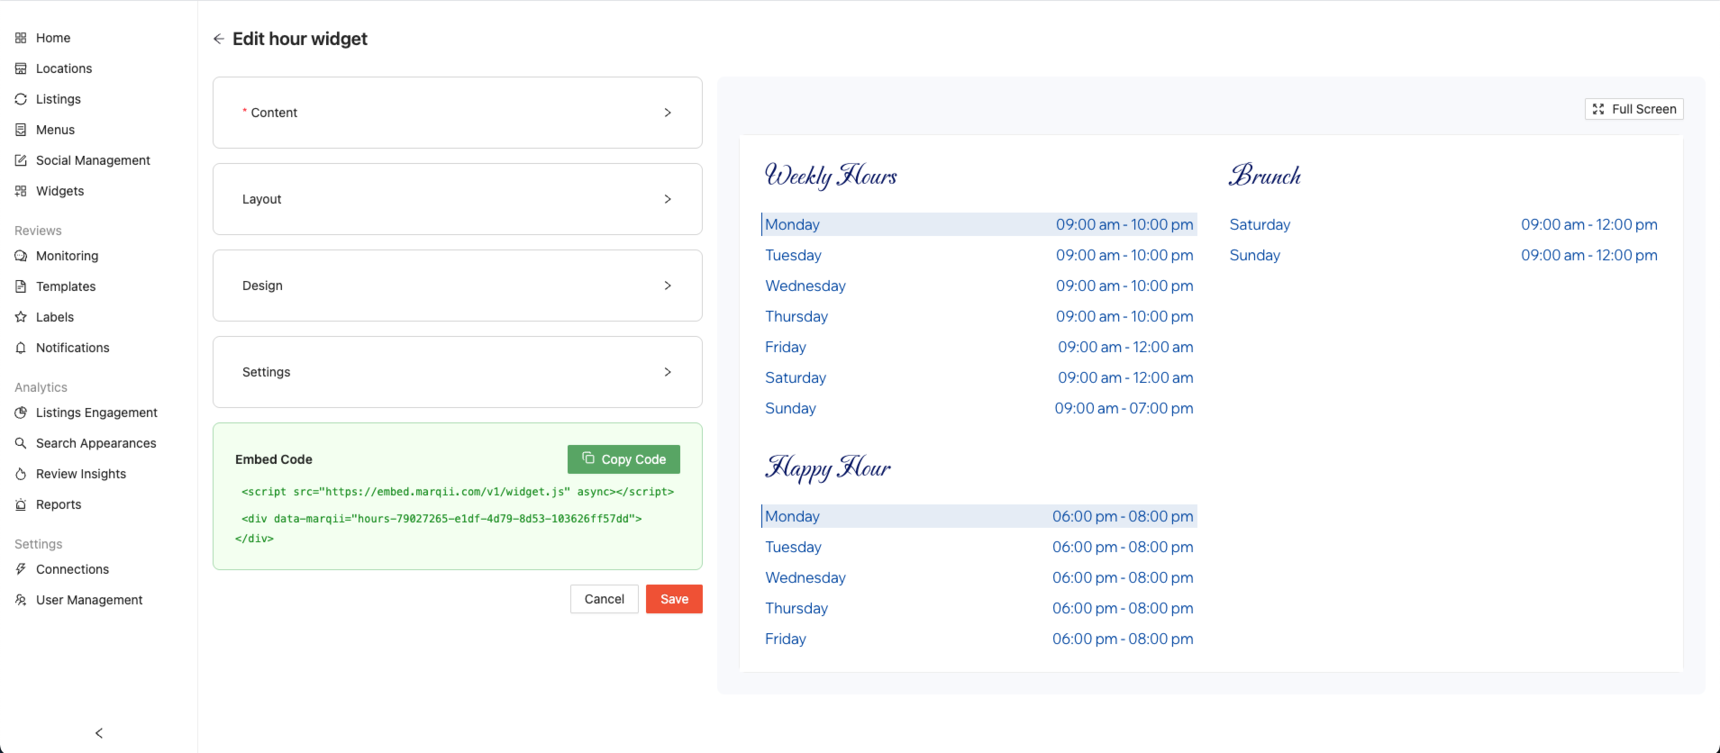
You have successfully created your hours widget!
Note: Any time you update your hours in the Marqii Dashboard, the widget will automatically reflect those changes both in the dashboard and on your website. There’s no need to create a new widget.
However, if you’ve added new specialty hours (such as Brunch, Happy Hour, Lunch, Dine-In, etc.), you’ll need to edit your widget settings to enable those hour types, then click "Save" to apply the changes.
Creating a Menu Widget
Click on "Menus" to start creating your menu widget.
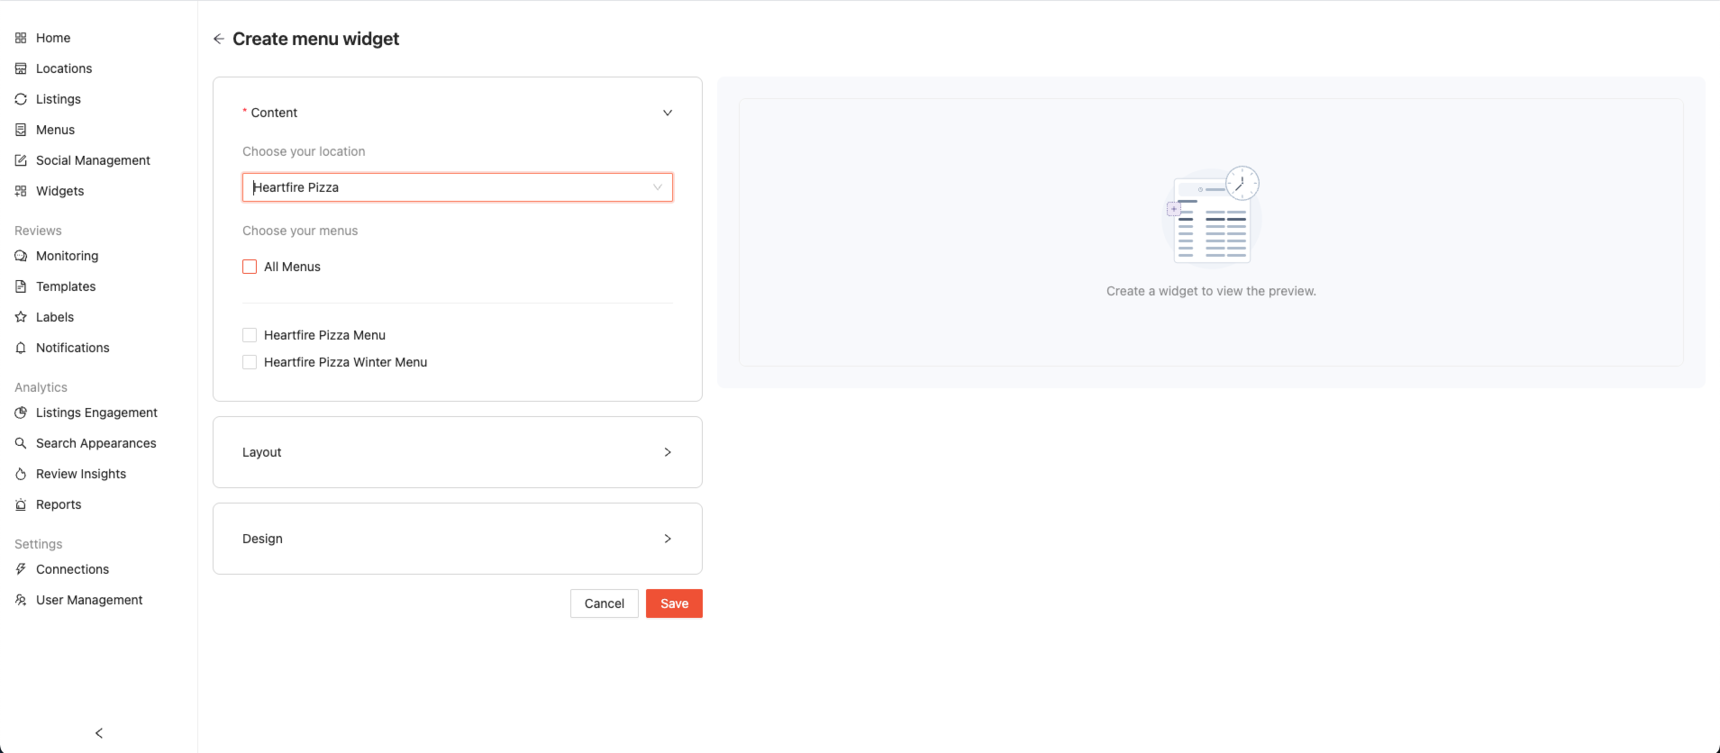
Under "Content" select the locations you would like to create the menu widget for.
Note: You can create separate widgets for each location or for each menu.
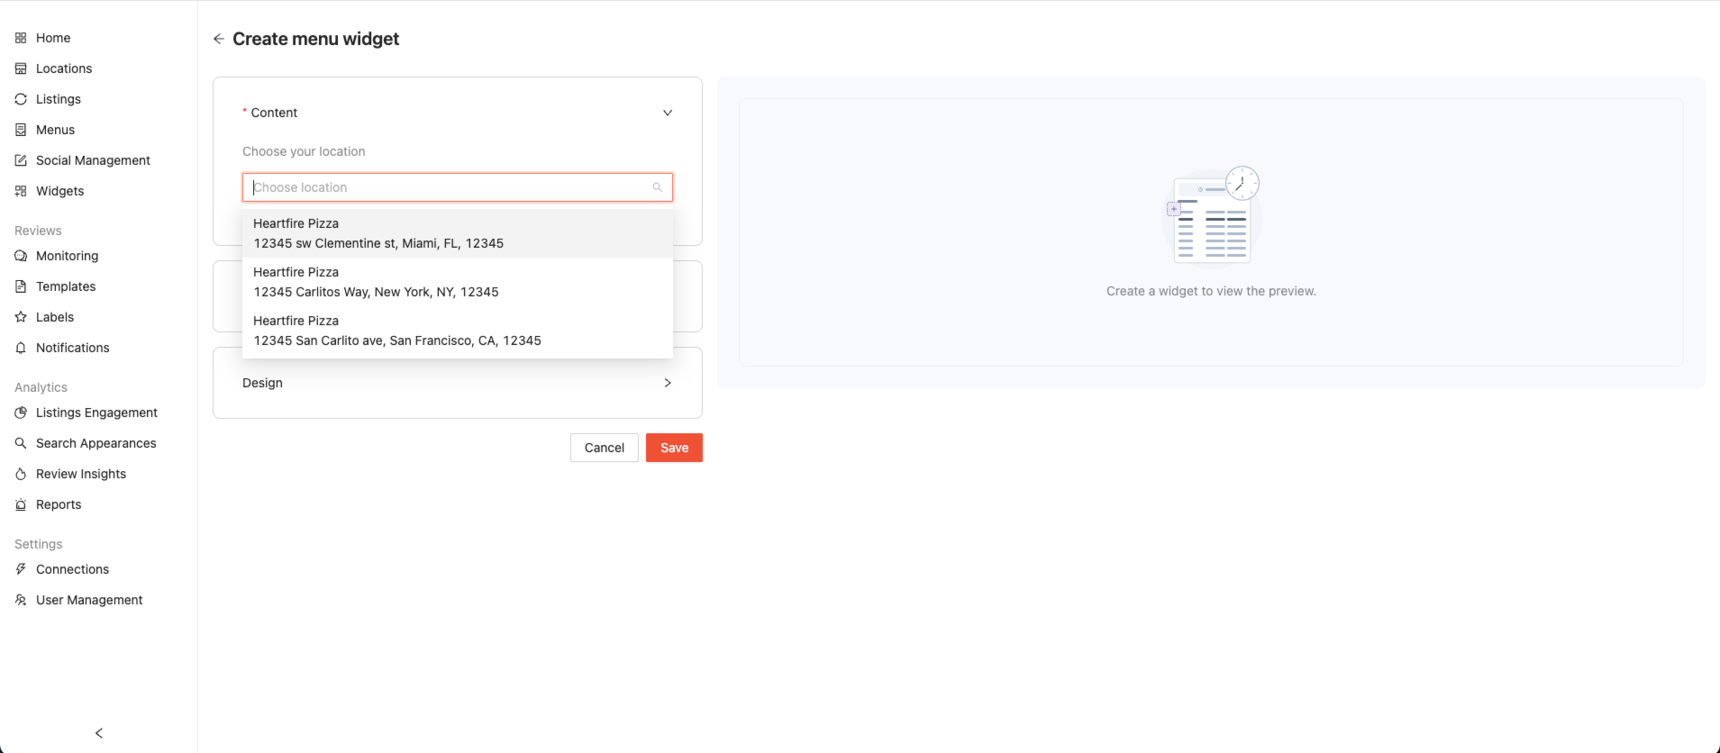
Note: Each individual widget will have it's own embed code that will need to be added to your website.
Once a location has been selected, you can choose one or multiple menus to display up to a maximum of 10 menus.
Note: Only menus that are assigned to a location will appear as options.
If you would like to add more menus to a location, go to the “Menus” tab, create or update your menus, and make sure they are properly assigned to the desired location.
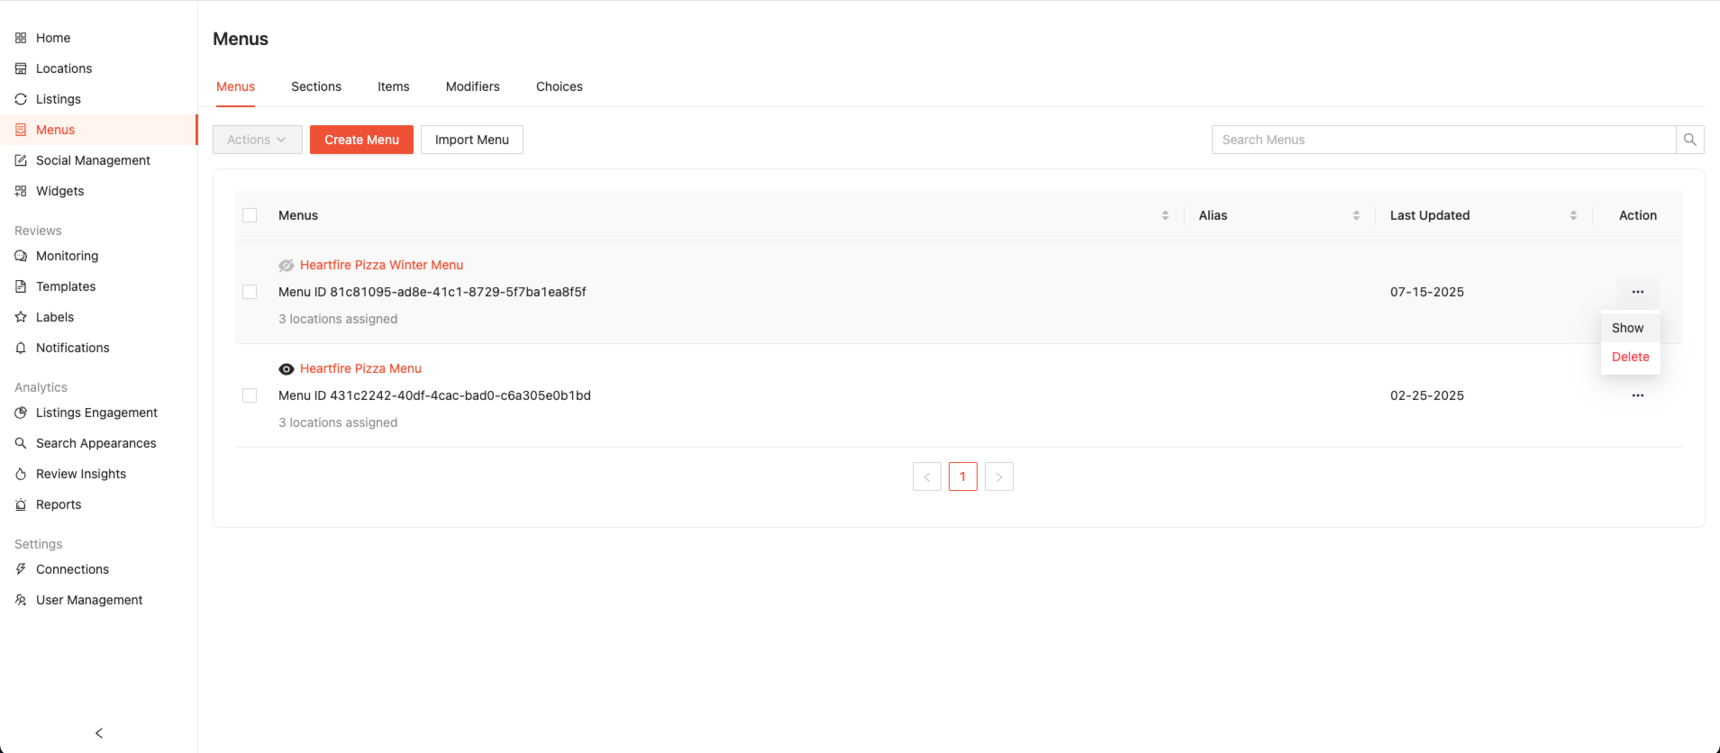
Note: If any menus assigned to your location are marked as hidden, they won’t appear as options when creating a menu widget. To make a hidden menu available, go to the Menus tab in the Marqii Dashboard and change its visibility to “Show.”
You can also unhide a menu by visiting the Location Details page for the location the menu is assigned to, click on the action ellipsis (...) next to the hidden menu and select "Show".
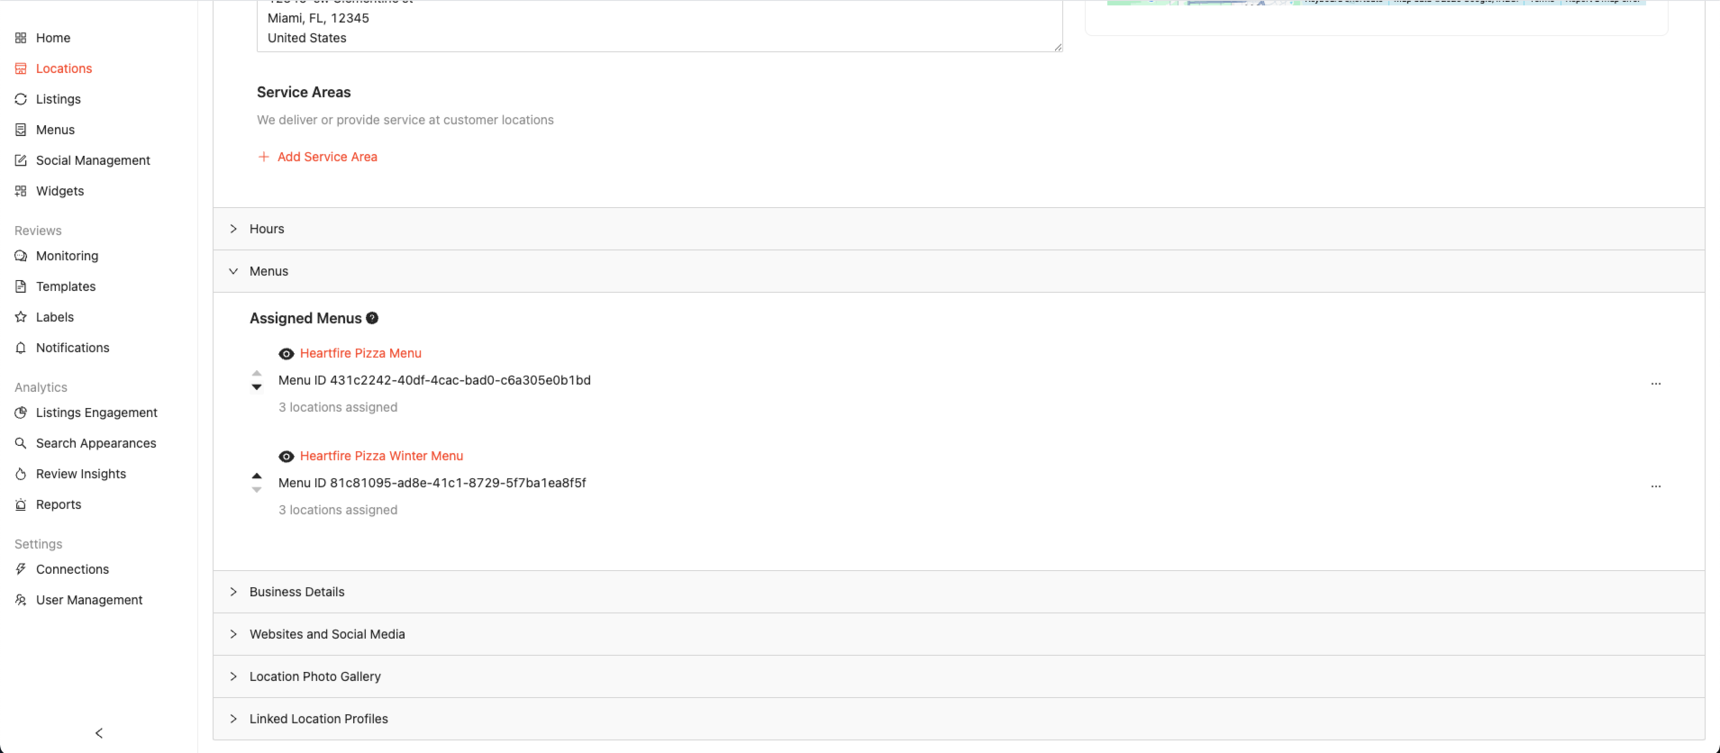
Note: If you would like to include multiple menus in a single widget and would like to change the order they display, you can edit the menu order by going to "Locations" selecting the location that you would like to edit, scroll to the "Menus" section, and use the up and down arrows to rearrange the menu order.

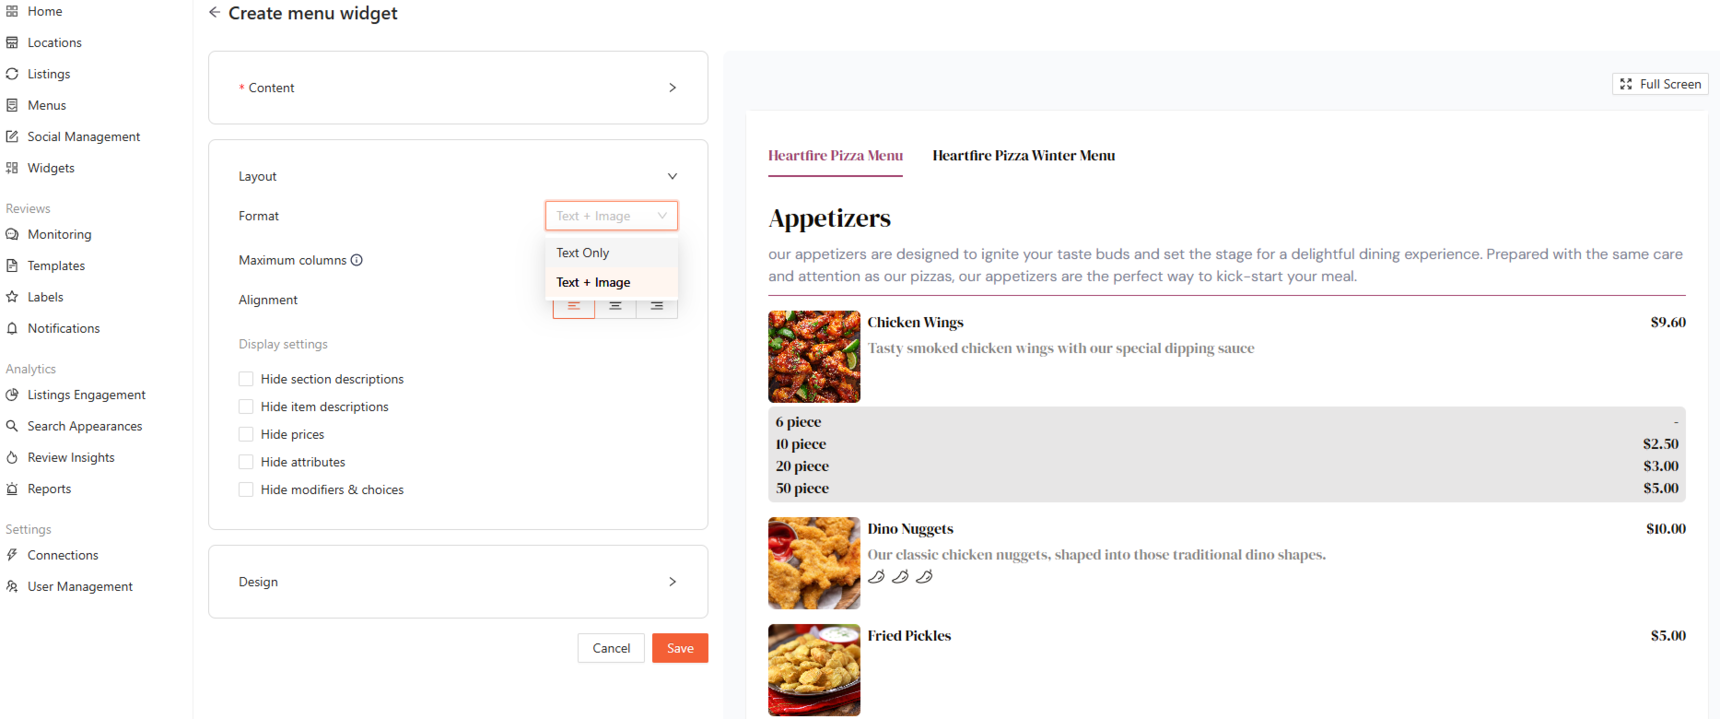
Once your menu(s) have been selected, click on "Layout"
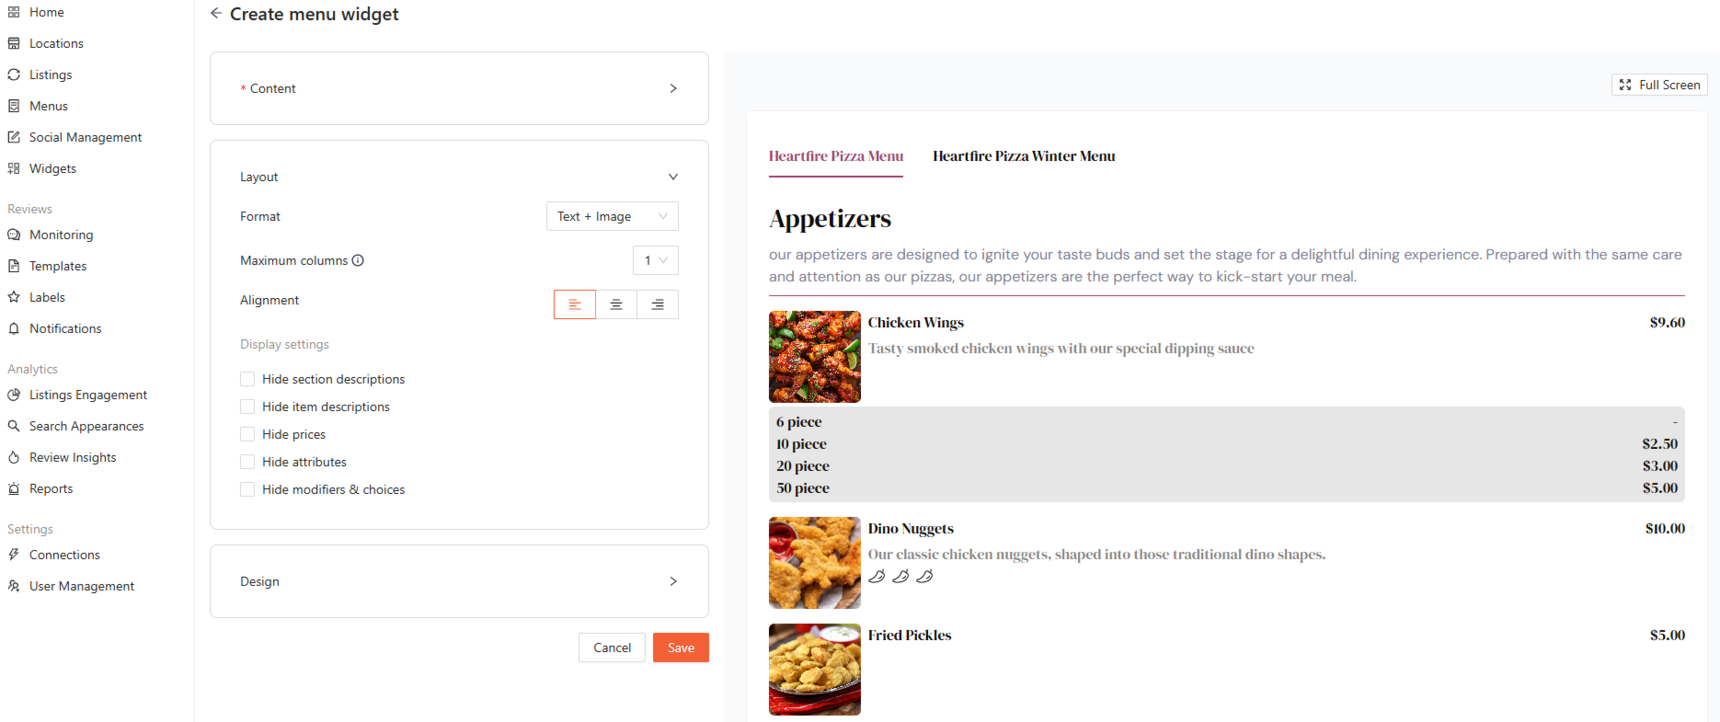
From here you will be able to assign formatting, single or double columns, alignment, and display settings.
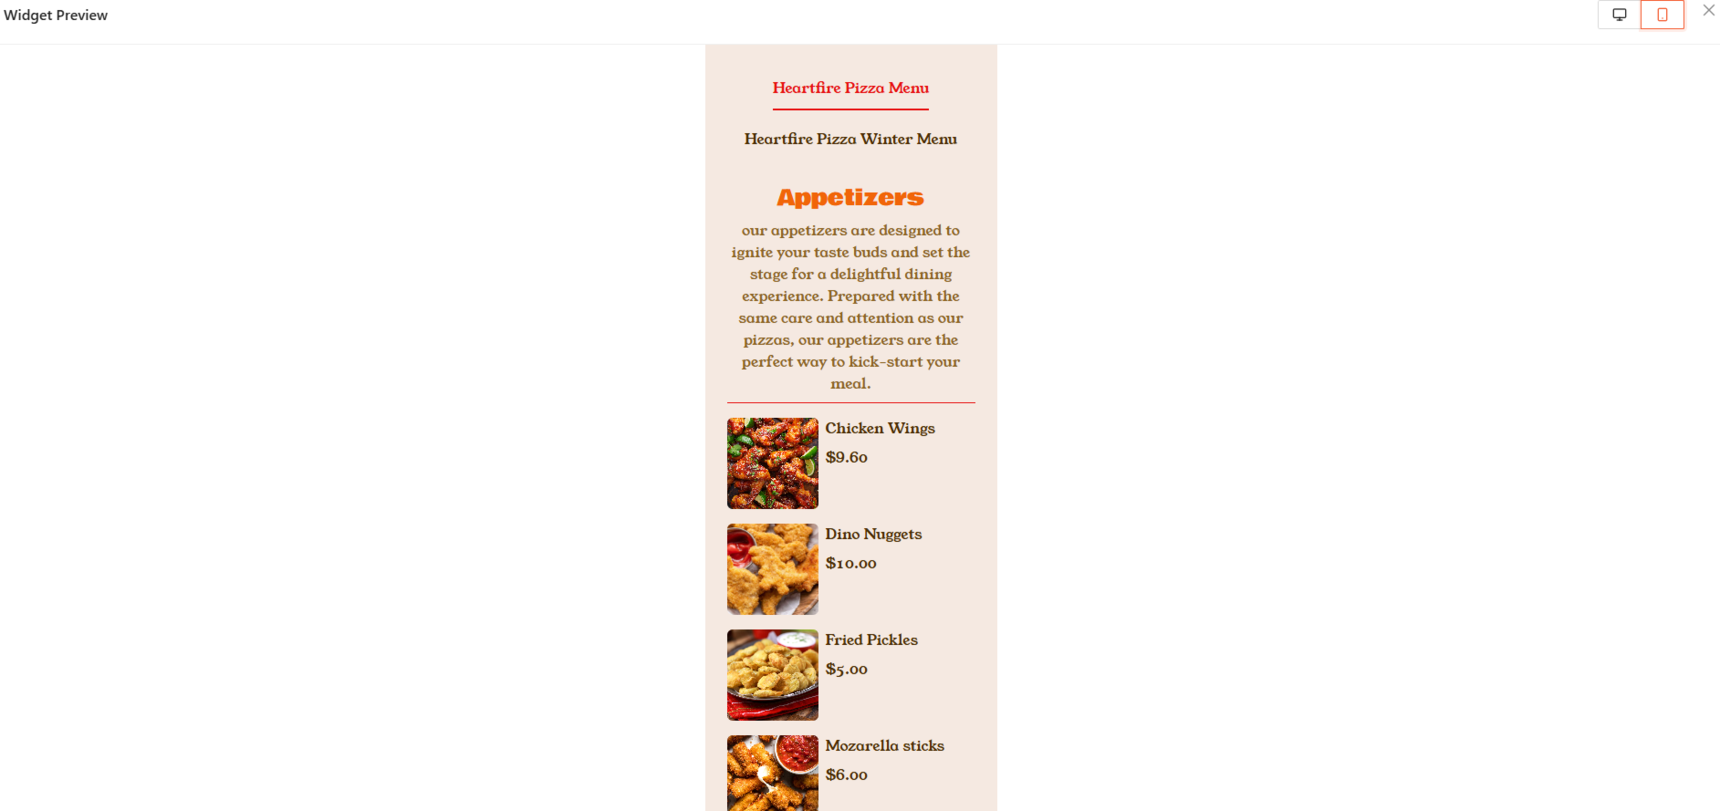
If you would like to display Text + Images on your menu widget, select "Text + Image" from the "Format" drop-down.
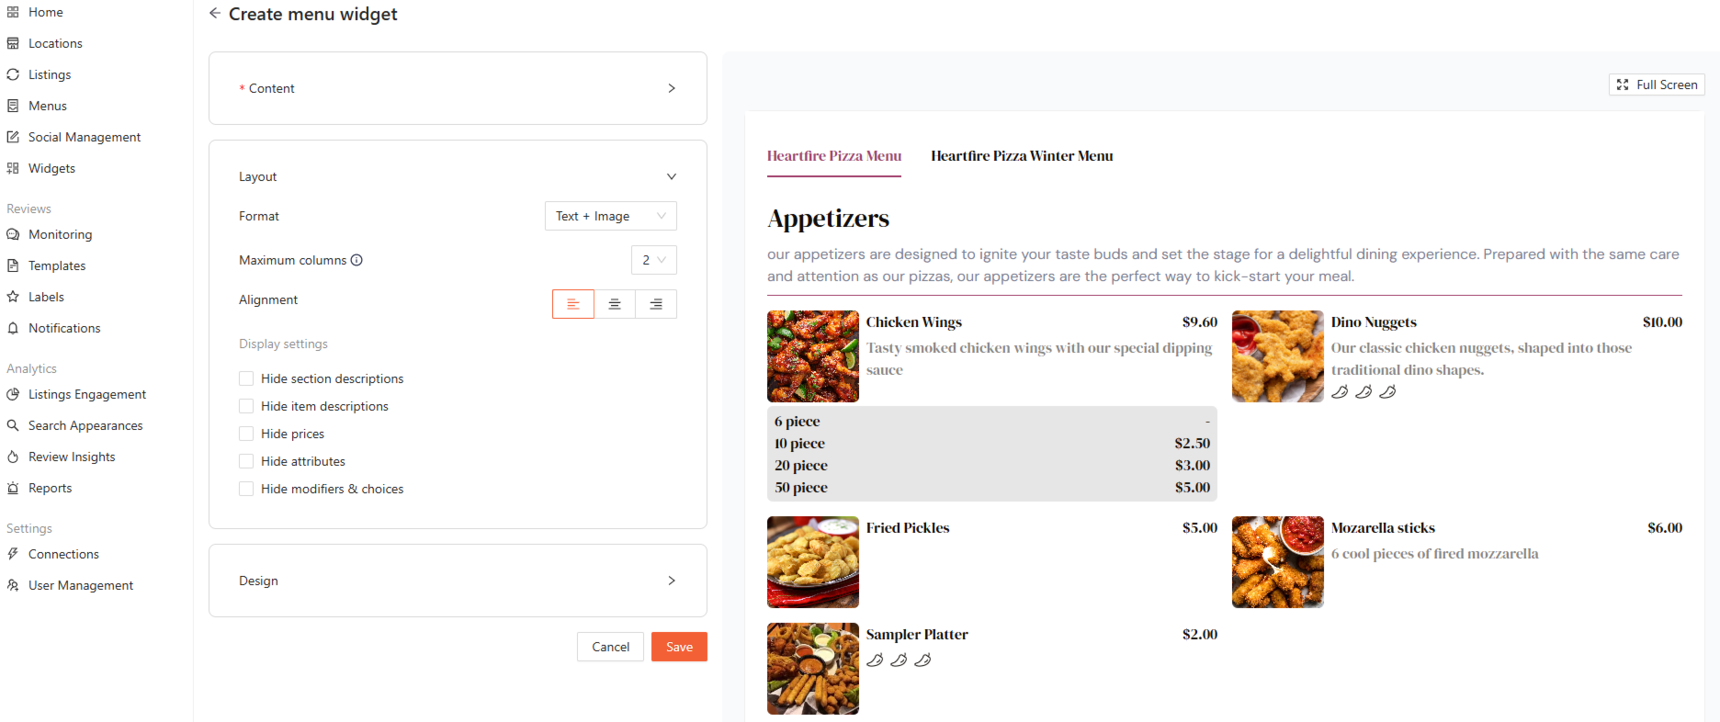
If you would like 2 columns, select "2" from the "Maximum Columns" drop-down.
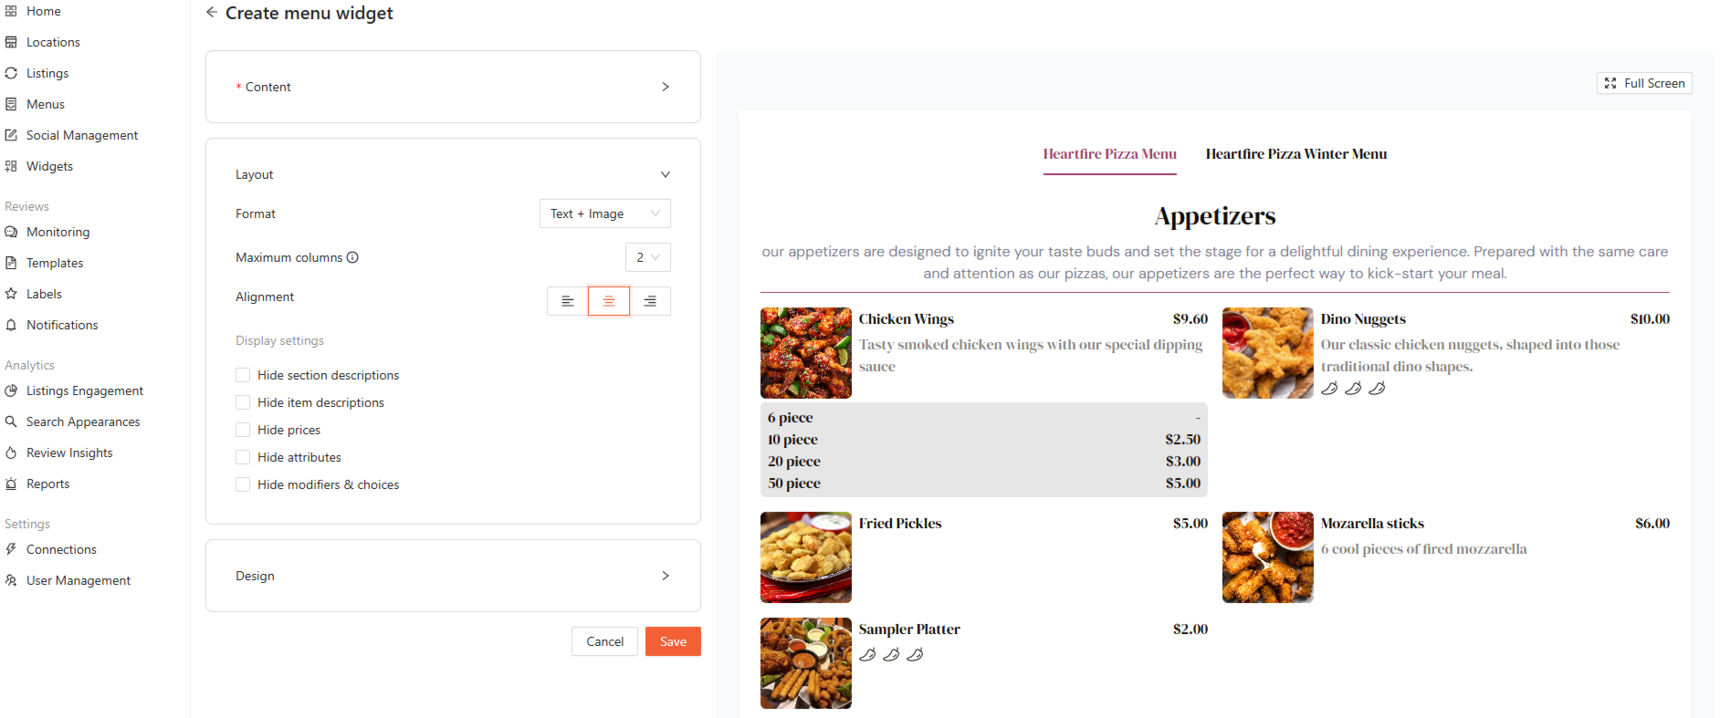
If you would like your menu headers to be center-aligned, simply select "Center" from the alignment options.
Customize your Display settings:
Hide Section Descriptions
Removes any descriptions that appear under section headers.Hide Item Descriptions
Hides the individual menu item descriptions.Hide Prices
Removes pricing information from menu items.Hide Attributes
Hides item tags such as “Gluten-Free,” “Vegetarian,” or other custom labels.Hide Modifiers and Choices
Removes any add-ons or customizations.
Once your Display settings have been selected, click on "Design"
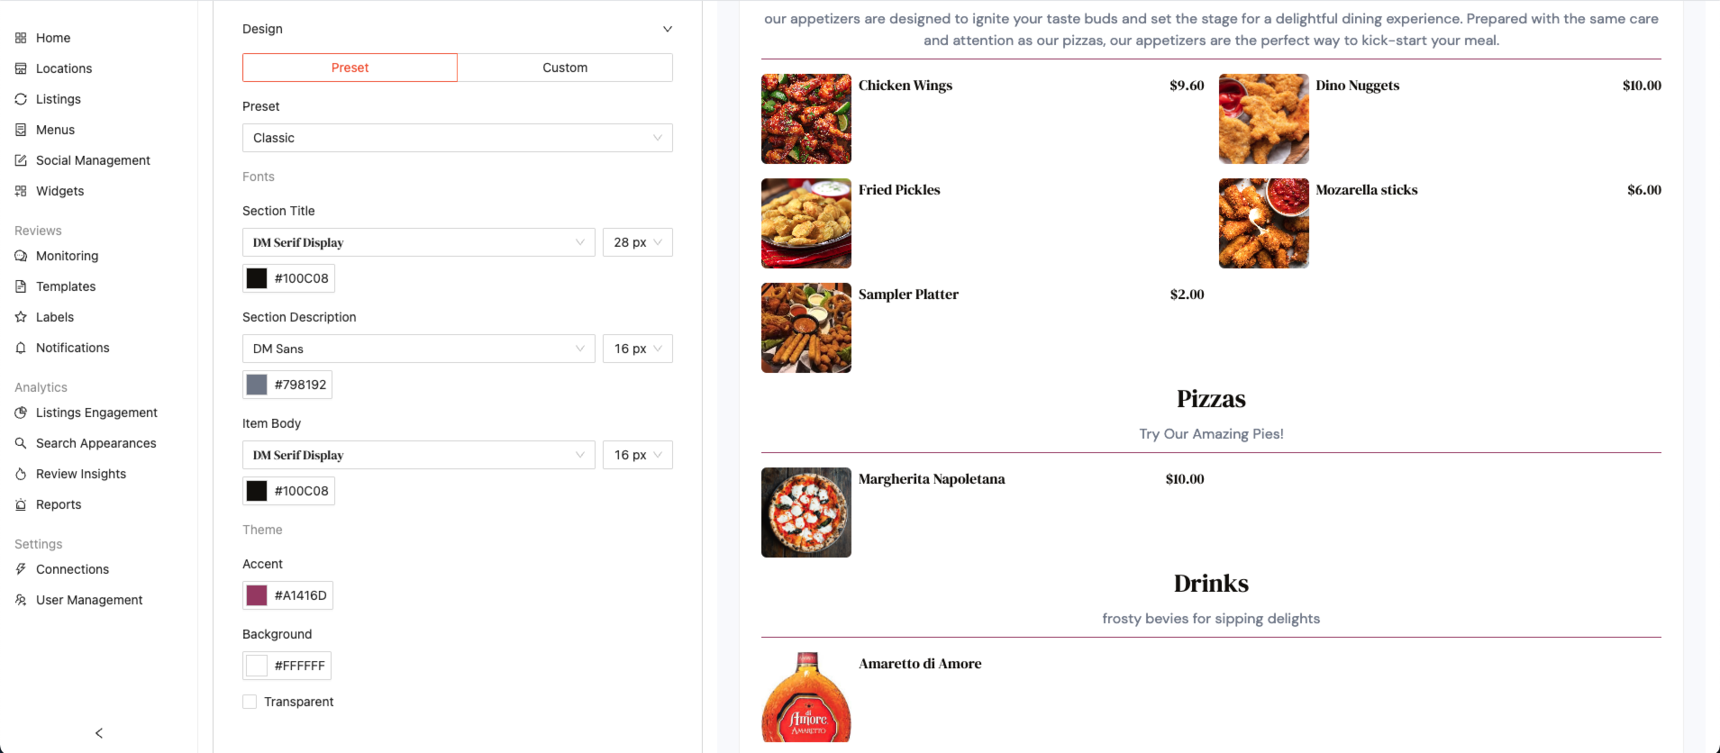
Under "Design" you can customize colors, highlights, fonts, and backgrounds to match your brand. Choose from ready made presets or create a fully custom design from scratch.
If you would like to use a preset, we've created visually appealing options designed to match popular themes like Dark, Nautical, Rustic, Bubblegum, and more.
Note: Once you make changes to the font size, color, or any other design setting, the preset will automatically switch to the “Custom” tab. Any preset styles you haven’t modified will still remain applied.
If you would like to go the more customized route, you can enter a HEX code for precise color matching.
If you already have a HEX code, simply paste it into the field. If not, you can click the color box to open the color picker and choose from a wide range of options.
Note: This option is available for the Header, Body, and Background.
If you would like a Transparent background, selecting "Transparent" will remove the background color and change it back to white.
Once you’ve fully customized your Menu widget and are happy with the way it looks, click “Save” to apply your changes.
Once Saved, an embed code will appear in the green box. Click "Copy Code" to copy the code and embed it to your website.
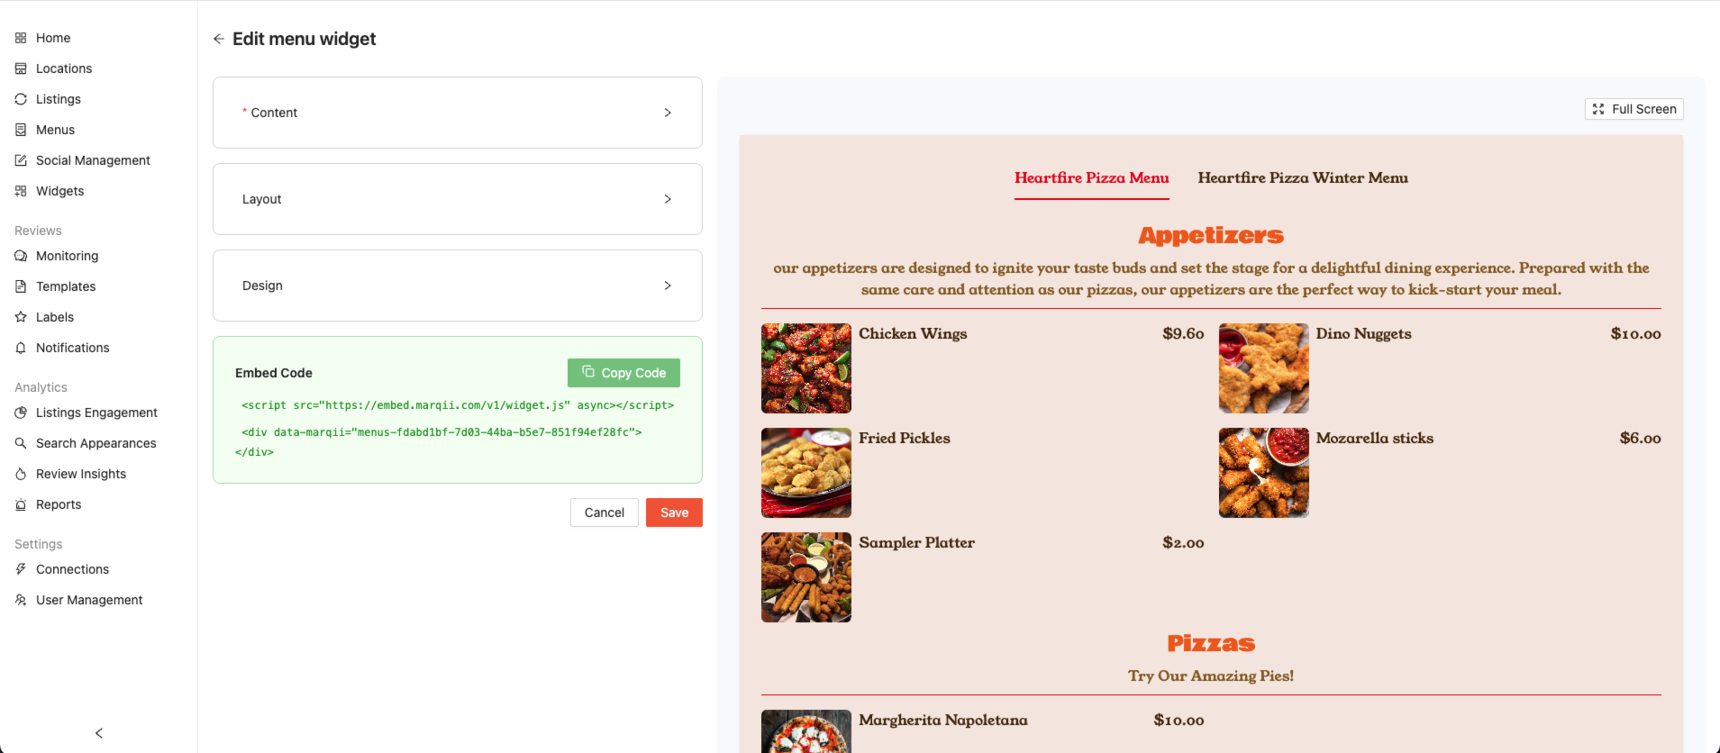
You have successfully created your menu widget!
Note: Any time you update your menu in the Marqii Dashboard, the widget will automatically reflect those changes both in the dashboard and on your website. There’s no need to create a new widget.
However, if you’ve added new menus, you’ll need to update your widget settings to include them, then click “Save” to apply the changes.
Creating an FAQ Widget
Click on "Widgets" in the left side menu, then click "Create Widget", and then click "FAQs" to start creating your FAQ widget.

Under "General," fill in:
Widget name — internal only, not visible to guests (100 character limit)
FAQ Title — displayed as the heading in the guest-facing widget (100 character limit)
Choose location — select the location this widget is for

Under "Questions & Answers," click "Create a question" to add a question and answer. You can add up to 20 questions per widget.
Use the drag handle to reorder questions, or the edit icon to update an existing question.

Click on "Layout" to configure how the widget displays:
Choose Accordion, List, or 2 Columns
Toggle Border and Dividers on or off
Display settings: Open First Question by Default and Multiple Active Questions

Click on "Design" to customize the widget's appearance. Choose a Preset or go Custom:
Set font, size, and color for the Title, Question, and Answer
Set an Accent color
Set a Background color, or check Transparent

The preview on the right updates in real time as you make changes. Click "Full Screen" to view it larger.
Once you're happy with your widget, copy the embed code from the green "Embed Code" box at the bottom and add it to your website.

Note: Any time you update your FAQ content in the Marqii Dashboard, the widget will automatically reflect those changes on your website. There's no need to create a new widget.
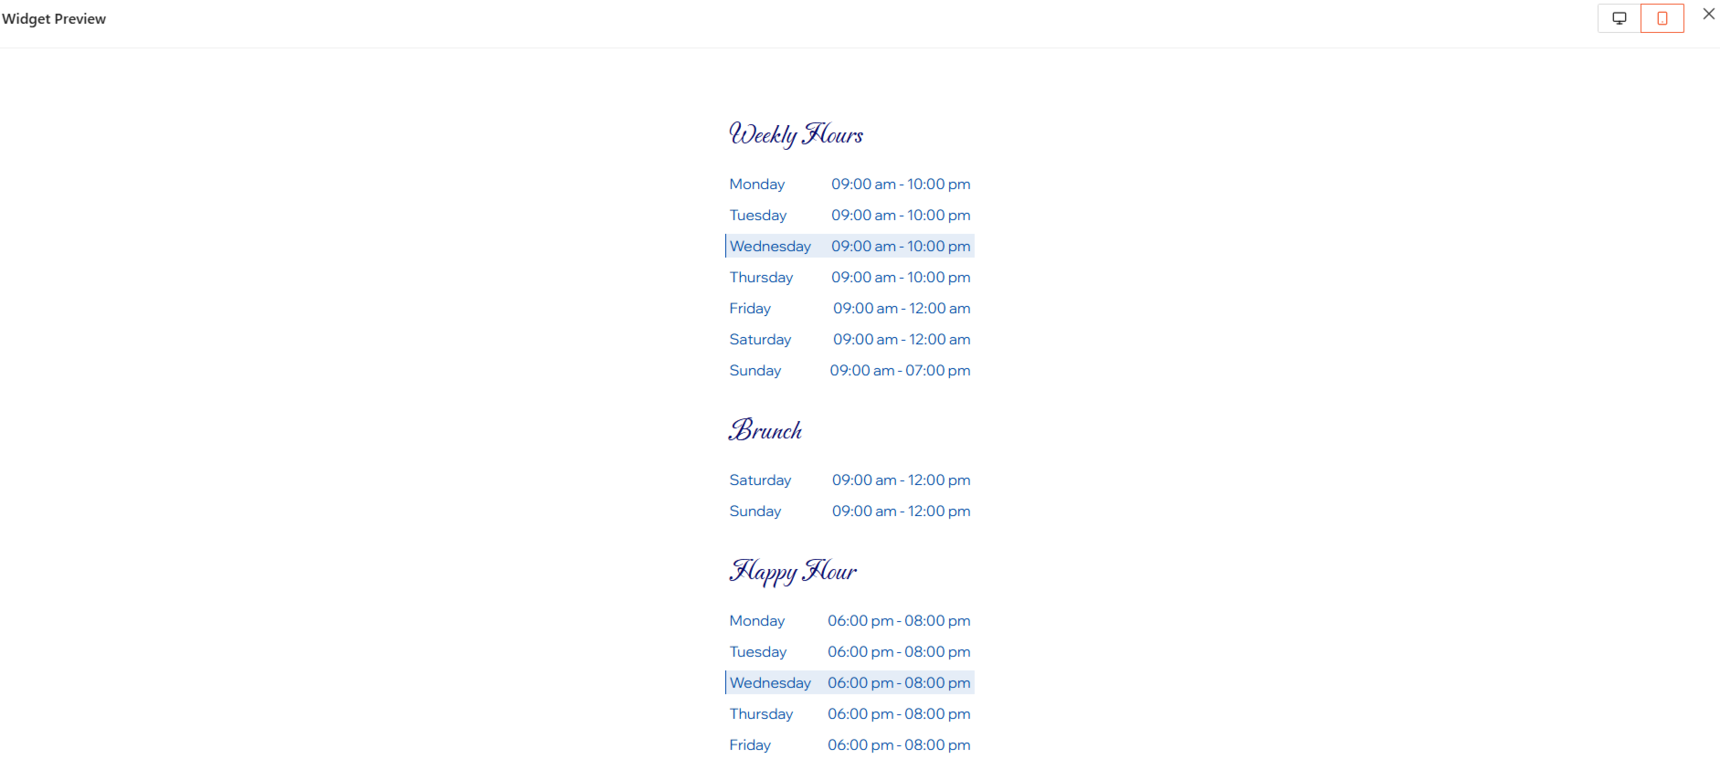
Using The Full Screen Preview
A full-screen preview allows you to view your widget in a larger, distraction-free format during setup, so you can see exactly how it will appear without being limited to a small preview window.
To use the full screen preview, simply click on "Full Screen" and the widget preview will open in a full-page view. This feature is available while setting up both Hours and Menu widgets.
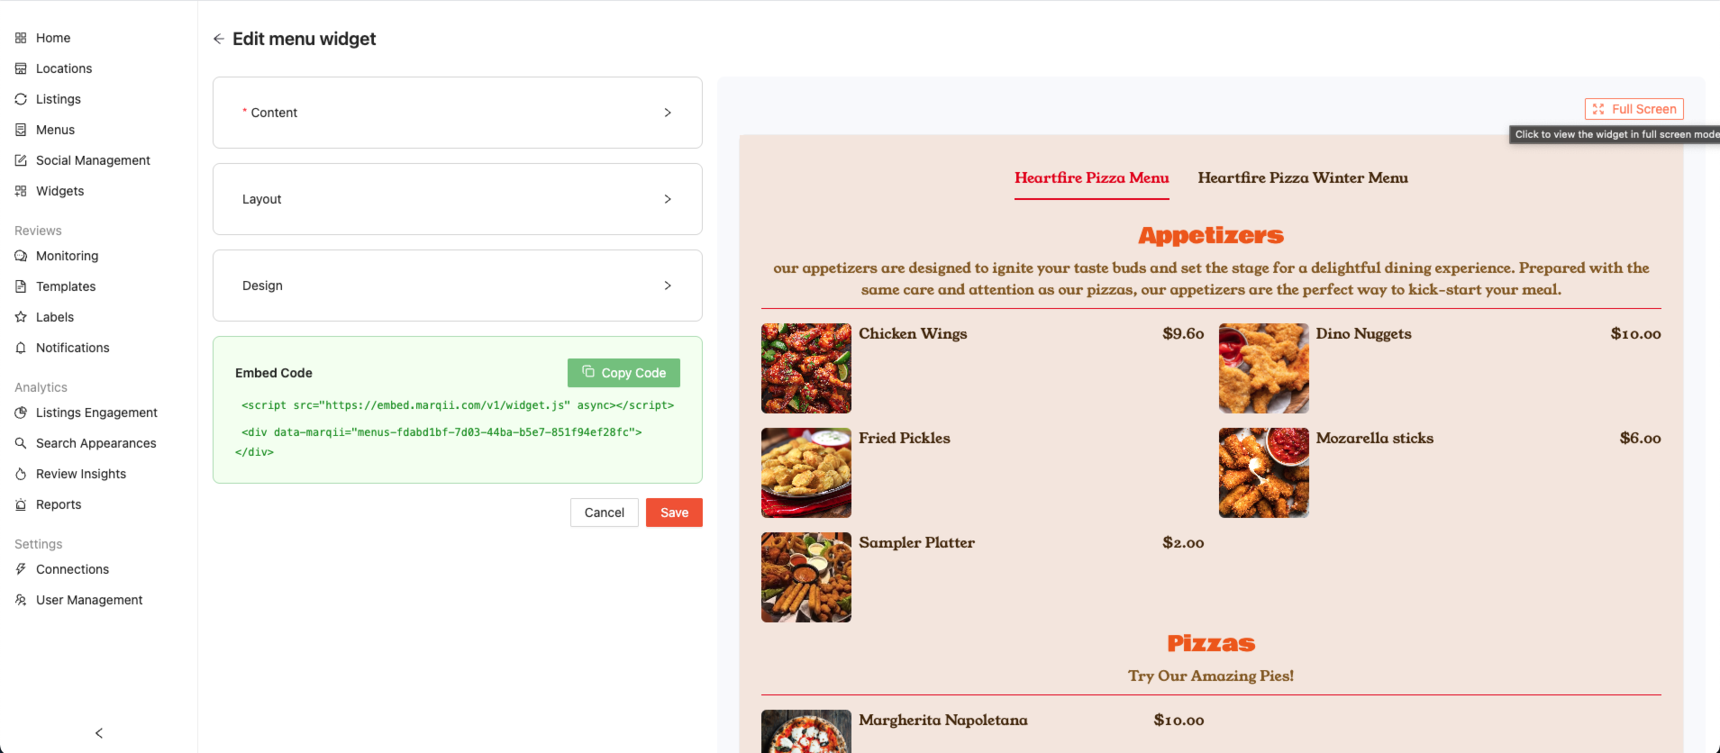
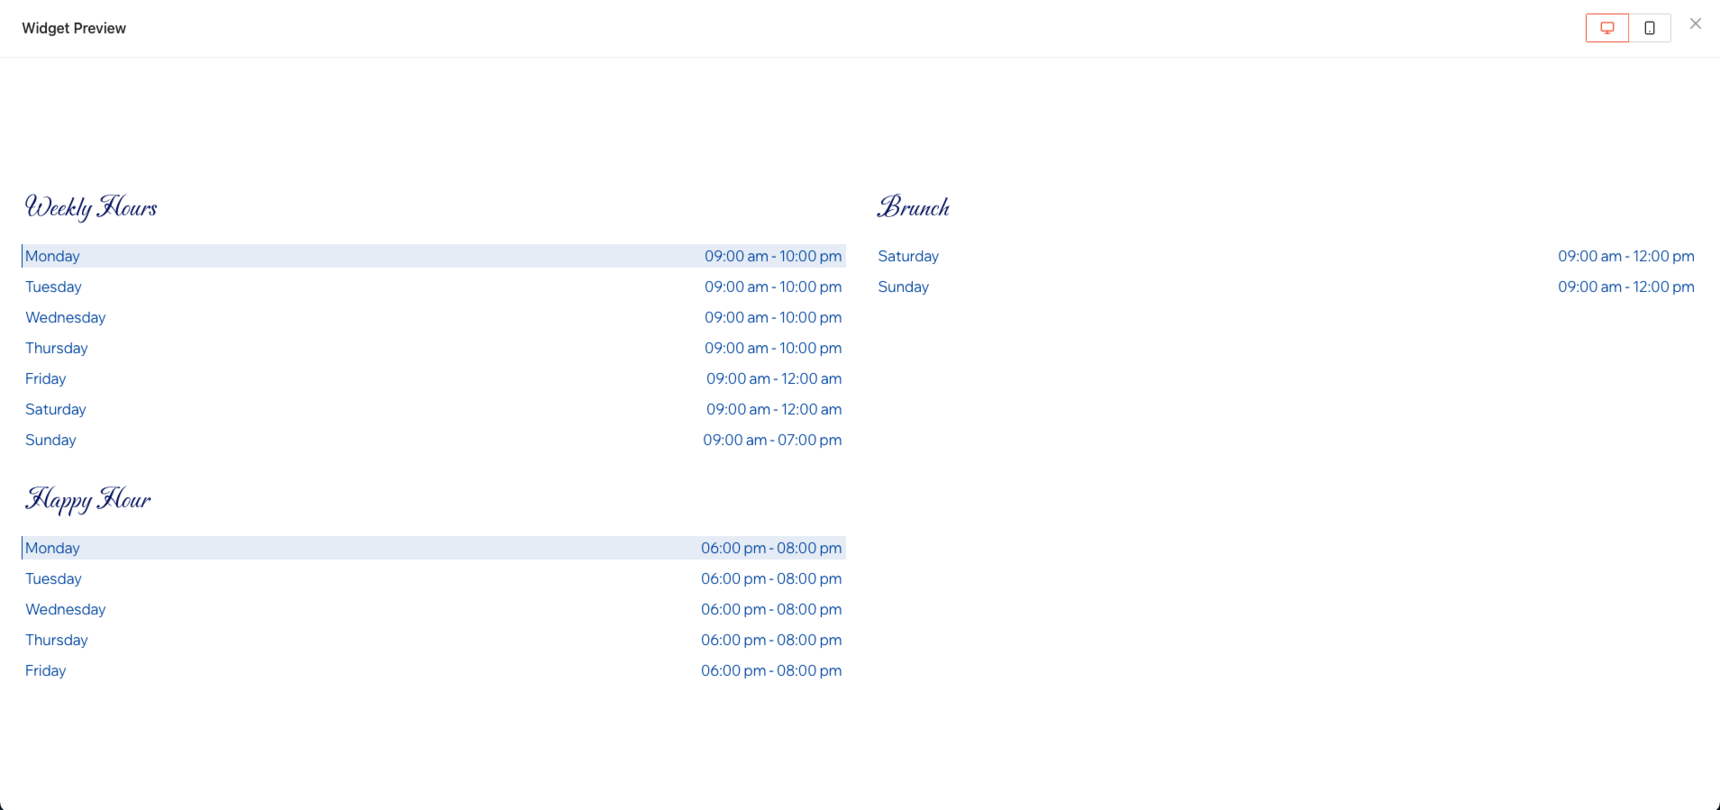
The full screen mode can be used to either see your menu and hours widgets via Desktop or Mobile.

Conclusion to Marqii Hours and Menus Widgets
Widgets make managing your hours, menus, and FAQs effortless by centralizing everything in one dashboard. Customize your content, control your design, and publish updates instantly with just a one-time embed on your website. Plus, because your content lives directly on your site, it helps improve discoverability — making your menus, hours, and FAQ content fully indexable by search engines and AI tools alike.
If you need any further assistance, feel free to contact support at support@marqii.com or (512) 967-3739.