
Facebook Social Posting & Scheduling
Social Management Feature
Social Management is a feature that allows you to manage and publish social posts directly from the Marqii dashboard to individual platforms such as Facebook, Google, Apple, and Instagram.
- In this article, we’ll focus specifically on Facebook Social Posting.
Social Management Roles
The roles below will be able to access the Social Management features:
Full Control - Not limited
Location Managers - Can manage which pages can be published to and publish posts. Cannot manage publisher connections.
Social Manager (New) - Can manage which pages can be published to and publish posts. Cannot manage publisher connections.
Social Contributor (New) - Can save post drafts. Cannot publish posts, manage which pages can be published to, or manage publisher connections.
Authenticating Facebook
Facebook accounts must be authenticated in Marqii in order to publish Posts from Marqii to Facebook.
Follow the steps below to authenticate your Facebook account:
- In the Social Management page, click the "Connect" button.

This will open a pop menu explaining the permissions Marqii will need from Facebook.
- Click the "Allow Access" button to begin the authentication process.

During the authentication process, you may be asked to log into your Facebook account. If so, log in and click "Continue."
- Click on "Continue as X" X being the name of the account holder.

Once the Authentication process is completed, you will see the success messaging, and the pop menu will close.

If a Facebook account is missing the necessary permissions for social management, you will see the following message "Your Facebook pages require additional permissions for Social Management. Authorize your Facebook account to continue,"
- To resolve this click on "Go To Account Manager."

- Click "Authorize" next to the relevant account(s). The authentication pop menu will appear, click on "Allow Access" to begin authenticating the Facebook account.
Note: Only one account can be authorized at a time.

Note: If multiple accounts need re-authentication for Social Management, follow the steps above until all relevant accounts are authorized.
Selecting Facebook Pages for Social Posting
Once Facebook accounts are authenticated, you will need to enable which pages you would like to publish posts to.
- In the Social Management page, click "Go to Account Manager" to view the Account Manager pop-up menu.
- Select the account to modify, enable, or disable pages for Social Posting.

- The account selected will show the active pages under the account.

- From here, you can select which pages you would like to enable to publish to from Marqii.
Note: Facebook pages that are linked to Marqii locations are automatically enabled and cannot be disabled unless the page is unlinked from the Marqii location.

- Once you have made your selection, click "Update" to save it. This will make it so that when you choose which pages to publish your post to when creating your posts, you will only see the enabled pages on the list.

Creating Facebook Social Posts
Once the Facebook accounts have been authenticated and the correct pages are enabled for publishing, we can now create a social post.
Follow the steps below:
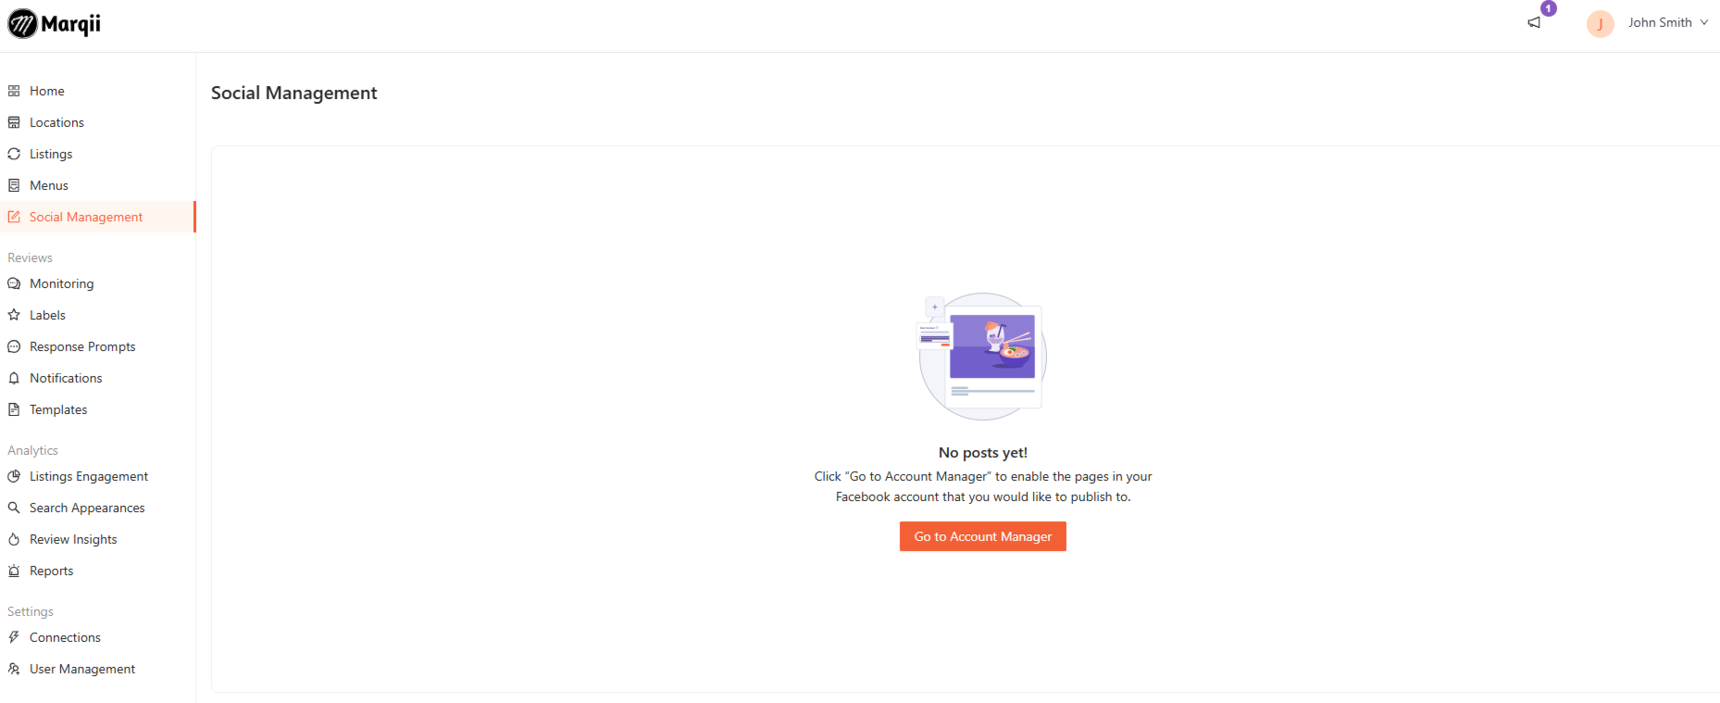
- Under the "Social Management" section on the Marqii Dashboard, a blank page will appear with two buttons either "Manage Accounts" which we covered in the previous section, and "Create Post."

- Click on the "Create Post" button to be taken to the create post screen.


Marqii Requirements:
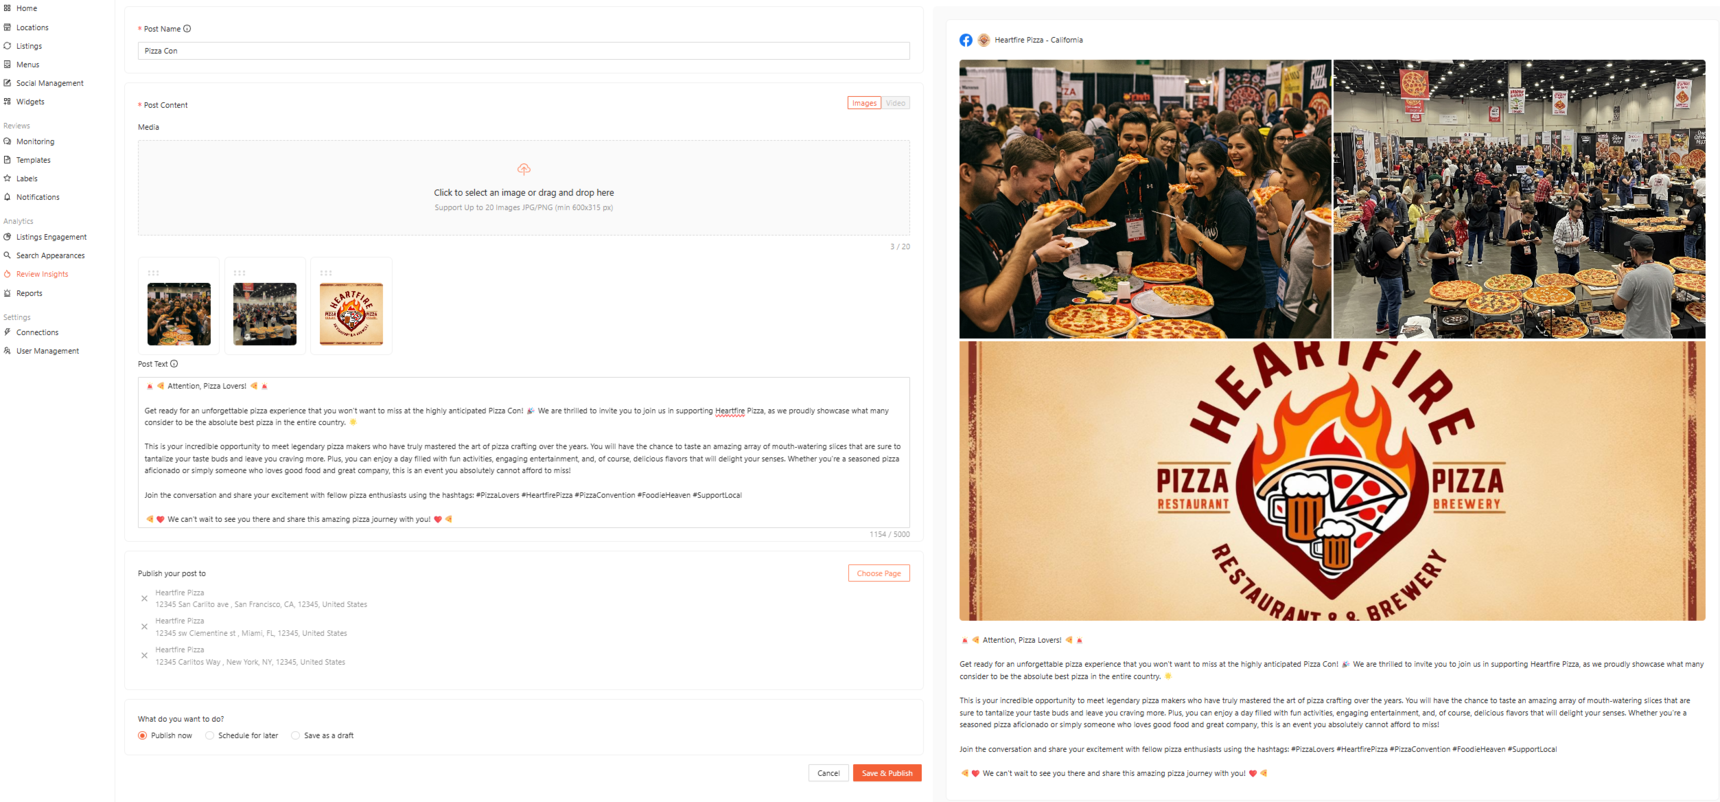
- Post Name - This is the internal name for the post within Marqii. It is required to save a Social Post draft. The content in this field will not be visible on live posts. There is a 250 maximum character limit.
Facebook Requirements:
- Post Media Images - The image(s) that correspond to the social post. There is a 20 image limit, images must be JPG or PNG, minimum of 600 X 315 pixels.
- Post Media Video - The video that corresponds to the social post. There is a 1 video limit, maximum of 1 GB file size, a minimum resolution of 720p, a minimum width of 120 pixels, a minimum height of 120 pixels, an aspect ratio between 4:1 and 1:4, and a maximum length of up to 240 minutes. For more information about accepted video formats, please visit this guide.
Note: For videos, you will be able to play the video in the post preview section of the "create post" screen. You will also be able to play the video after publishing the post and viewing the post details drawer under the "Published" section.
- Post Text - The written message or description to accompany the media in the social post. There is a 5000 character maximum limit for Facebook.
- Facebook posts can include both, post media and post text. However, the minimum requirement for Facebook posts is to have at least one, post media or post text.
Saving a Draft:
- If the post is not ready to be published, select "Save as a Draft." The only requirement to save a draft is to fill out the "Post Name" field. Scroll down to the bottom and select "Save as a Draft" there will be a "Save Draft" button.
- Saved drafts will appear on the "Drafts" tab and can be edited or deleted by clicking the 3 dots on the right of the draft.


Publishing to Page:
- Make sure all the required fields to publish are filled out. Note that Facebook posts have a 5000 character limit for the post text, a maximum of 20 images in JPG or PNG format, and a minimum of 600 x 315 pixels, OR a 1 video limit up to 1 GB, 720p+, 120px wide, 4:1 to 1:4 ratio, and under 240 minutes for the post media.
- Once your post is ready, select the location(s) and pages(s) where you would like to publish your post by clicking "Choose Page" and selecting the connected pages from the drop-down.


- Once all the locations for the social post have been selected, click "Save."

- When the post is ready to be published select “Publish Now" then click "Save & Publish."
- Once a post is published it will appear under the "Published" tab.

Each post name under the "Published" tab will be collapsible. Expanding the section will display a list of the locations where the post has been published.
Scheduled Facebook Social Posting
- Goal: The goal is to eliminate the need for users to manually publish posts, allowing for a more efficient and automated posting process.
- Solution: Enable users to schedule posts for automatic publishing at a chosen date and time.
Note: Scheduled Posts can be set to publish as soon as 15 minutes in advance. There isn’t a maximum limit on how far in advance you can schedule a post, so you’re free to plan content as far out as you’d like. Scheduled posts can also be rescheduled, edited and deleted.
To schedule a post, you will need the required fields below:
- Post Name - This is the internal name for the post within Marqii. It is required to save a Social Post draft. The content in this field will not be visible on live posts. There is a 250 maximum character limit.
- Post Media Images - The image(s) that correspond to the social post. There is a 20 image limit, images must be JPG or PNG, minimum of 600 X 315 pixels.
- Post Media Video - The video that corresponds to the social post. There is a 1 video limit, maximum of 1 GB file size, a minimum resolution of 720p, a minimum width of 120 pixels, an aspect ratio between 4:1 and 1:4, and a maximum length of up to 240 minutes. For more information about accepted video formats, please visit this guide.
Once you have all of the above, select your locations.
Note: See the instructions above under "Creating Facebook Social Posts" for more information.
- At the bottom of the "Create a Post" screen, click "Schedule for Later," then use the date selector to choose your desired posting date and time.


- Once your desired date and time has been selected, click "Save & Schedule."
Note: The scheduled post time is based on your browser's local time. This may vary for individuals in different time zones, as it is solely determined by the time set in their browser.

- If plans change for your scheduled post and the details need to be updated, you can edit, reschedule, or delete the post at any time before it goes live.
Note: If you're editing a post within the 15-minute window before it's scheduled to go live, you'll need to choose a new time (at least 15 minutes in the future).


Conclusion To Facebook Social Posting
Facebook Social Posting streamlines the social management process into one dashboard for more convenience, allowing for easier drafting, scheduling, and publishing of posts all in one place.
If you need any further assistance, feel free to contact support at support@marqii.com or 1 888-597-2939.