Marqii Brand Kits
Last updated: October 19, 2026
Brand Kits let you save your fonts, colors, and button styles once and apply them to any widget. Instead of re-entering the same design settings every time you create a widget, select your Brand Kit and your widget is styled to match your brand.
Contents
Why Use Brand Kits
Save time: Set your design settings once instead of re-entering them for every widget.
Stay consistent: Keep the same look across your Menu, Hours, FAQ, and Review widgets, and your First Party Review forms.
Work across locations: Brand Kits are saved at the account level and are available for widgets at every location.
Note: Only users with Full Control or Location Manager access can create and manage Brand Kits. There is no limit to the number of Brand Kits you can create.
Creating a Brand Kit
Once logged in to the Marqii Dashboard, click Widgets in the left-side menu.
Click Brand Kits.
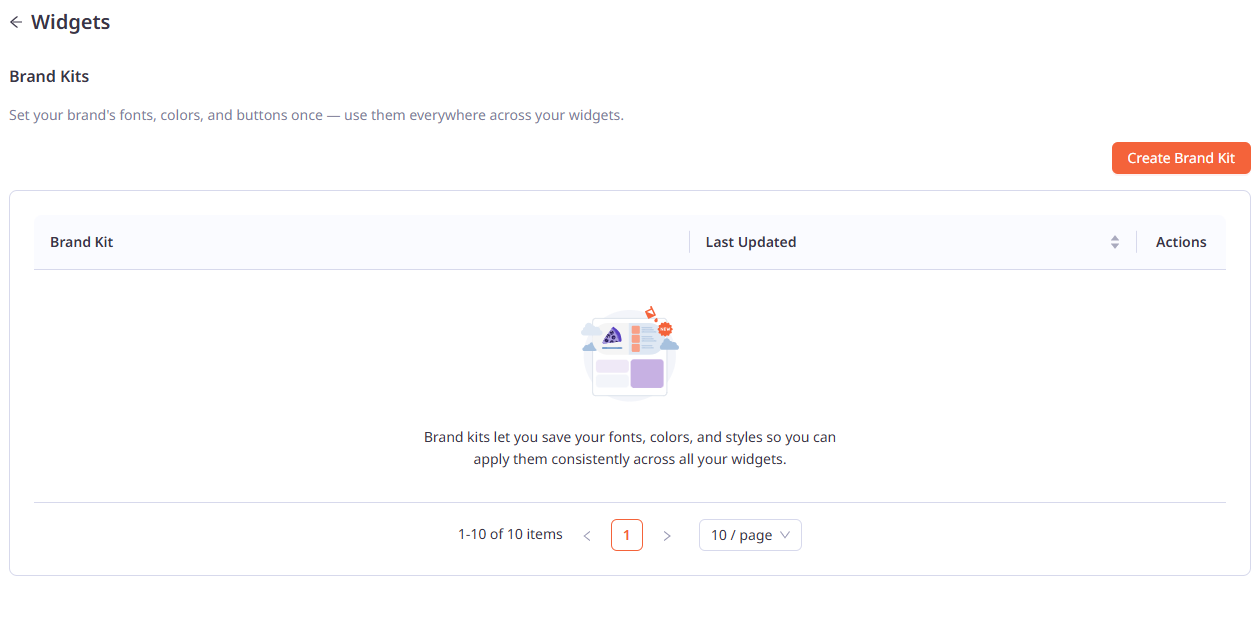
Click Create Brand Kit. If you haven't created any Brand Kits yet, the page shows a short description of Brand Kits with a Create Brand Kit button.
Enter a Kit name. This is for internal use only and is not visible to guests (up to 100 characters).
Set your design settings:
Title: Font, size, and color.
Primary Content: Font, size, and color.
Body Content: Font, size, and color.
Button text: Font, size, and color.
Button: Button color.
Accent: Accent color.
Background: Background color. Check Transparent to use your website's background instead.
Click Save.
Note: All settings are required to save a Brand Kit.
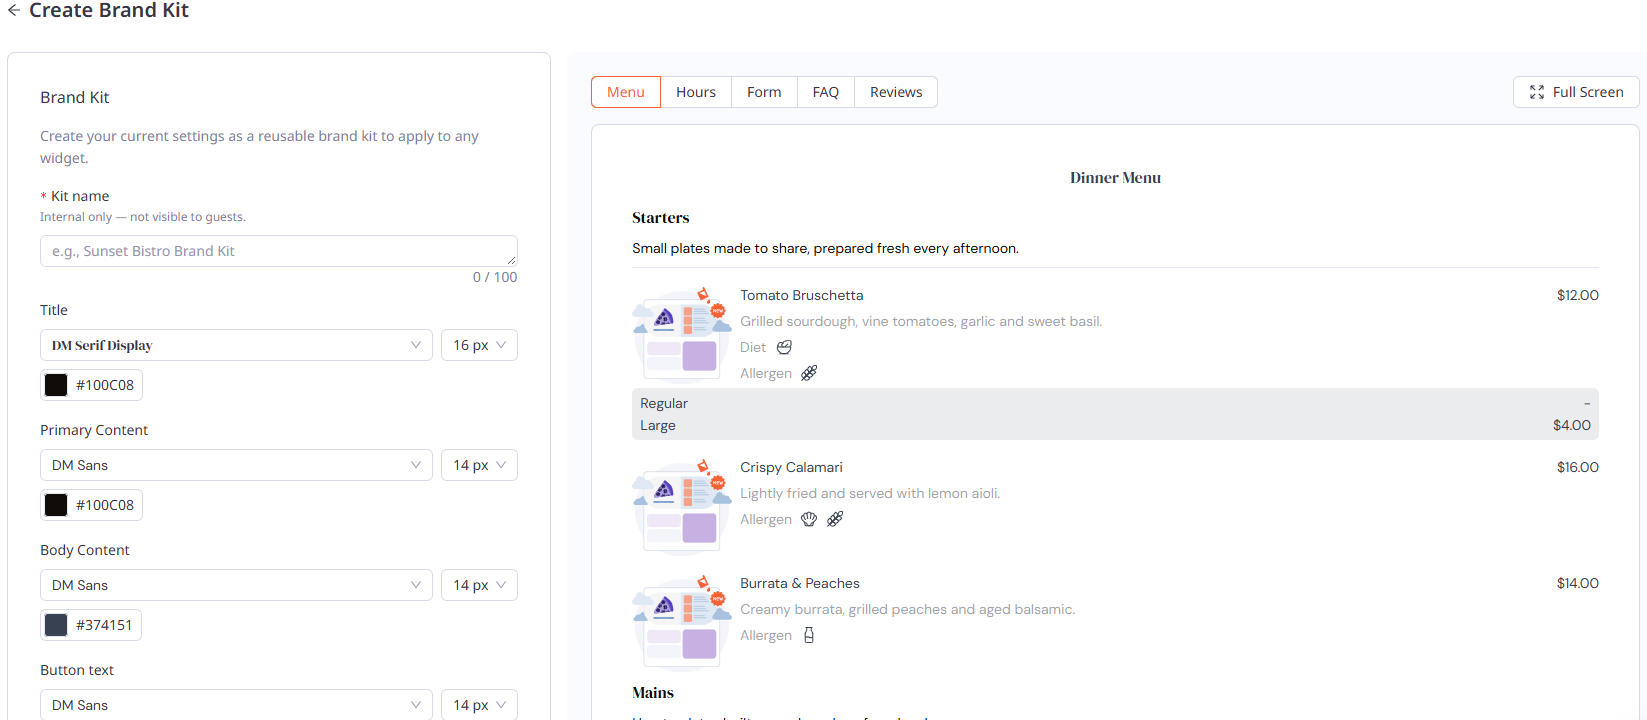
As you make changes, the preview on the right updates to show how your Brand Kit looks on each widget type. Click Menu, Hours, Form (First Party Review form), FAQ, or Reviews to switch between previews, or click Full Screen for a larger preview.
Saving a Brand Kit from a Widget
If you've already designed a widget you like, you can save its design settings as a Brand Kit.
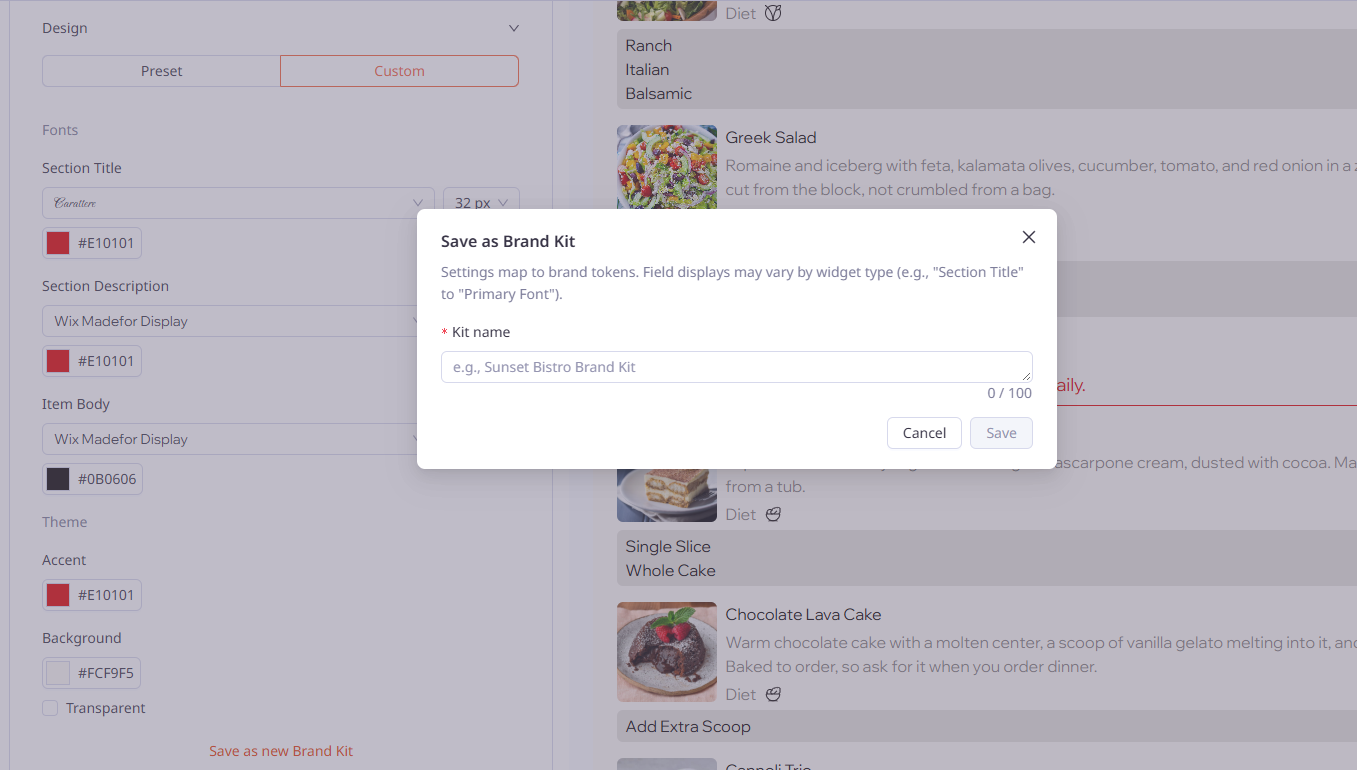
In the widget's Design section, click Custom.
Click + Save as Brand Kit.
Enter a Kit name.
Click Save.
Your new Brand Kit is added to your Brand Kits list and selected as the widget's active preset. Your widget's design settings stay the same.
Note: Your settings are mapped to the matching Brand Kit settings, so setting names may differ between widget types.
Applying a Brand Kit to a Widget
When creating or editing a widget, open the Design section.
On the Preset tab, click the Preset dropdown.
Under Brand Kits, select your Brand Kit.
The widget's design settings are filled in from your Brand Kit, and the preview updates. Click Save on the widget to apply the changes. If the widget is already on your website, the changes appear there once you save.
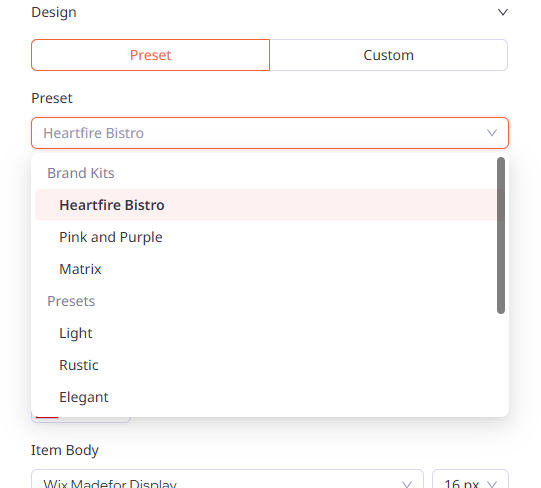
Customizing after applying a Brand Kit: If you change any design setting after applying a Brand Kit, the Design section switches to the Custom tab. Switching back to the Preset tab shows your selected Brand Kit.
Updating a Brand Kit from a Widget
When you customize a widget that uses a Brand Kit, the Custom tab shows which Brand Kit the design came from. From here you can:
Update Brand Kit: Save your changes to the existing Brand Kit. A confirmation window appears before the Brand Kit is updated.
Save as new Brand Kit: Save your changes as a separate Brand Kit and leave the original unchanged.
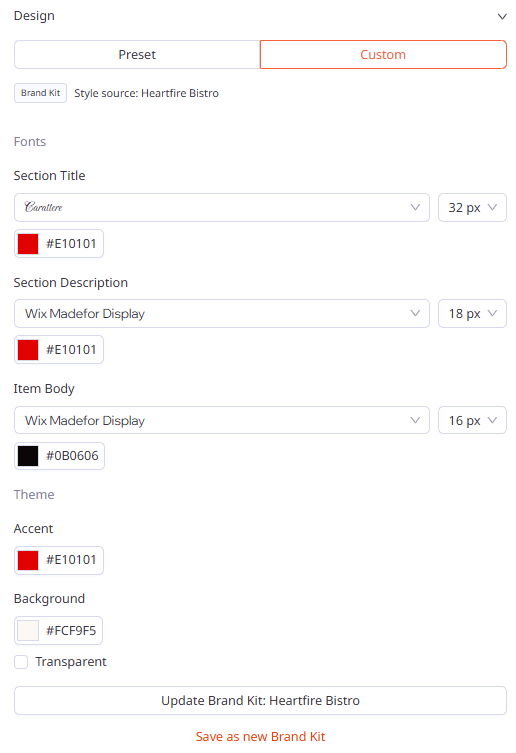
Note: Updating a Brand Kit does not change widgets that already use it. Those widgets keep their original design settings, and their Design section shows as Custom. To use the updated Brand Kit on an existing widget, select it again from the Preset dropdown and click Save.
Managing Brand Kits
To view your Brand Kits, click Widgets in the left-side menu, then click Brand Kits. Your Brand Kits are listed with the date they were last updated. Click the ... under Actions to open the menu:
Edit: Update the Brand Kit's settings.
Duplicate: Create a copy of the Brand Kit. The copy is added to your list with "(Copy)" added to its name.
Delete: Remove the Brand Kit.
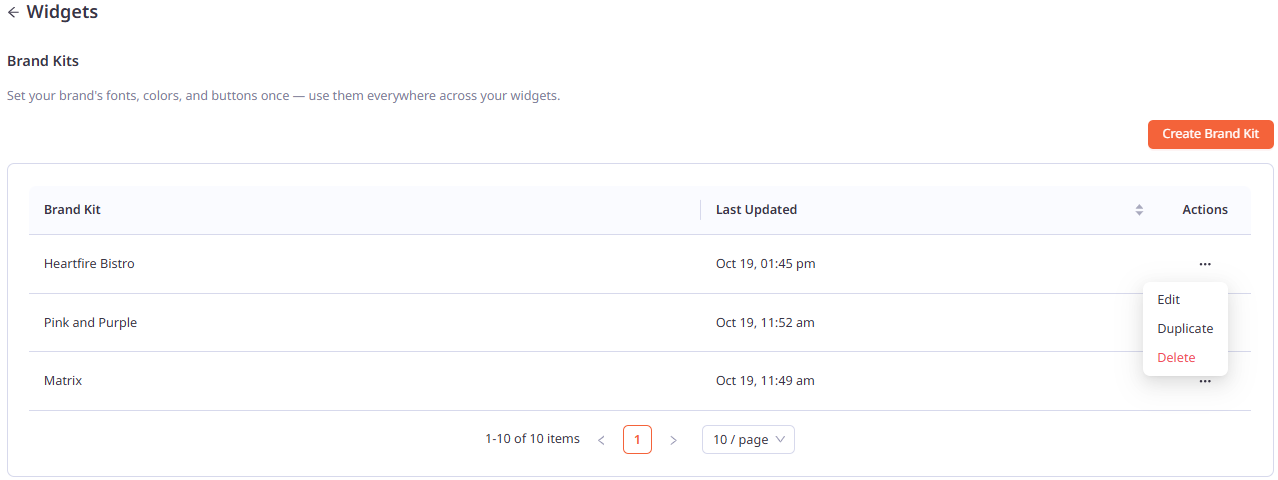
Note: Editing a Brand Kit does not change widgets that already use it. Those widgets keep their original design settings, and their Design section shows as Custom. To use the updated Brand Kit on an existing widget, select it again from the Preset dropdown and click Save.
Deleting a Brand Kit
Click the ... under Actions for the Brand Kit you want to remove.
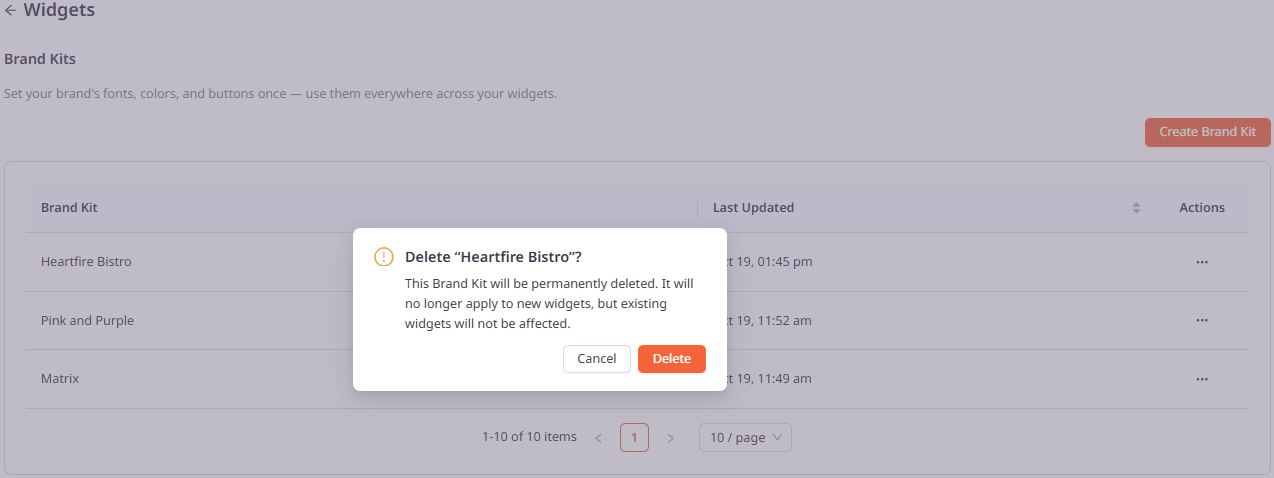
Click Delete.
In the Delete "[Brand Kit name]"? confirmation window, click Delete to confirm, or Cancel to keep the Brand Kit.
Note: Deleted Brand Kits are permanently removed and can no longer be applied to new widgets. Widgets that already use the Brand Kit are not affected.
If you need any further assistance, feel free to contact support at support@marqii.com or text (512) 967-3739.