How to Link Facebook
Last updated: July 14, 2026
Linking Facebook to the Marqii Dashboard
Log into Marqii here.
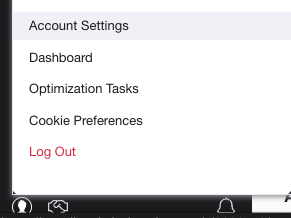
In the left-side navigation menu click on the person icon in the bottom left-corner labeled "Account Details"

Select "Account Settings"
Under "Account Configuration" select the "Linked Accounts" option.
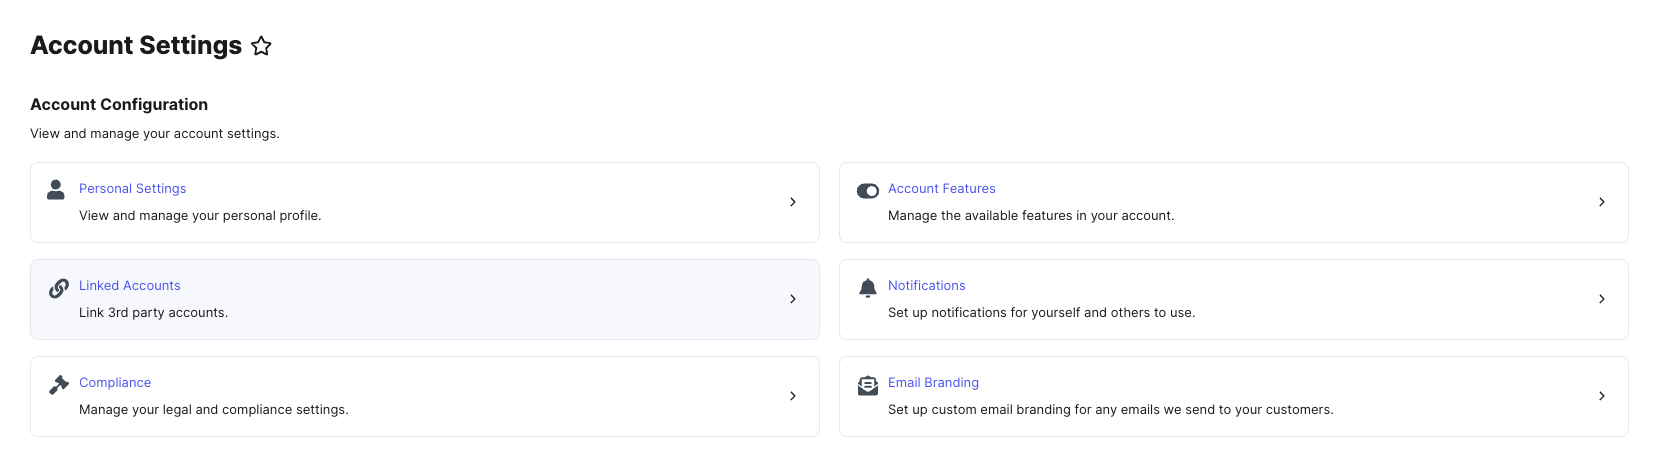
Under "Social Accounts" click on "Link Account" next to Facebook, and sign into your Facebook account.

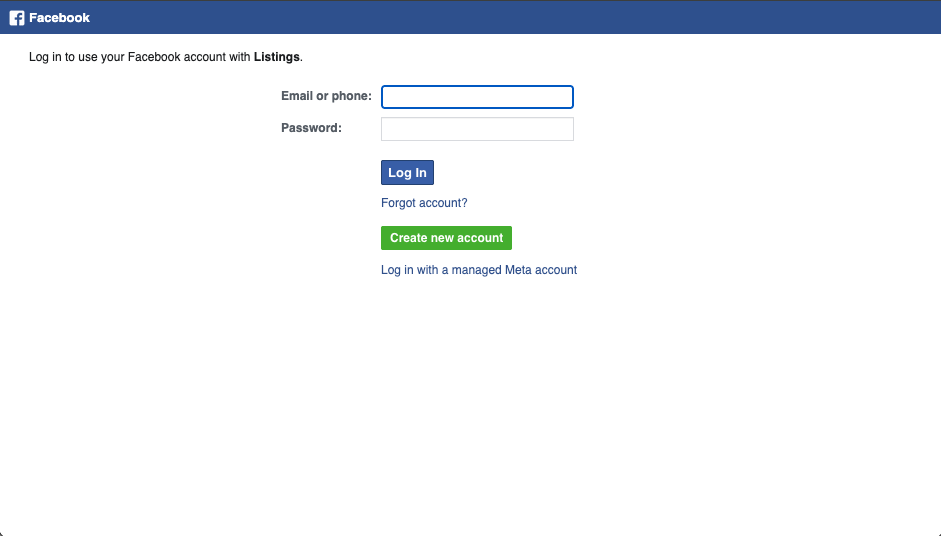
A separate window will open prompting you to sign in to your Facebook Account. You can log in using a managed Met Account, or by entering your email and password, then click "Log in"
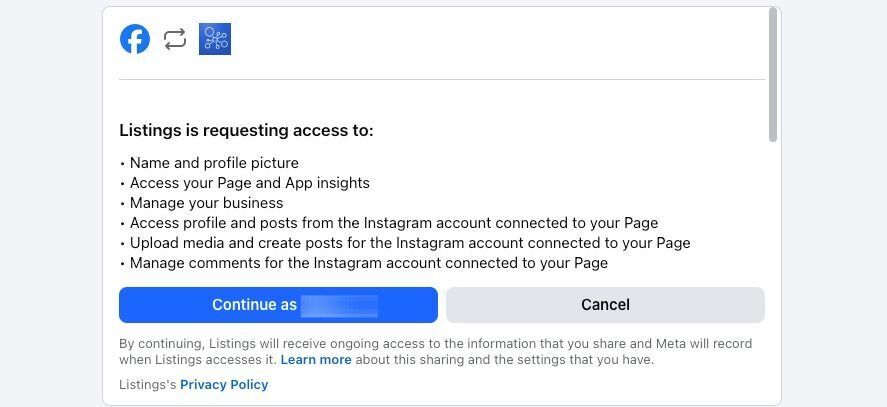
Select "Continue As" to move forward with adding Facebook to Marqii.
If you have multiple locations, select "All Available Locations" when prompted.
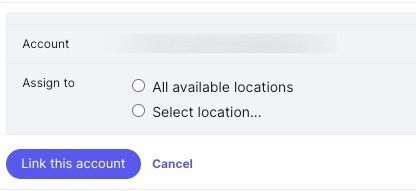
Then click "Link This Account"
Once the account is linked, follow the steps below to connect each Facebook page to its corresponding location.
Select "Listings" in the navigation bar and click on "Publishers"
Select "Facebook" in the list of publishers and click on "Set up" to the right of the Facebook listing for the desired location.
Select the Page for the intended location, or select the option to create a new Page. Then click "Continue"
Add a profile photo and cover photo. Both are required for certain categories in order for Marqii to sync the business information to Facebook.
Click "Complete"
Note: Marqii can only link to business pages. Linking your Facebook account will not affect your personal Facebook page in any way. Marqii will only have access to update Facebook pages that match the name, address and phone number in our dashboard.
Your Facebook account has now been linked!
If you need any further assistance, feel free to contact support at support@marqii.com or text (512) 967-3739.